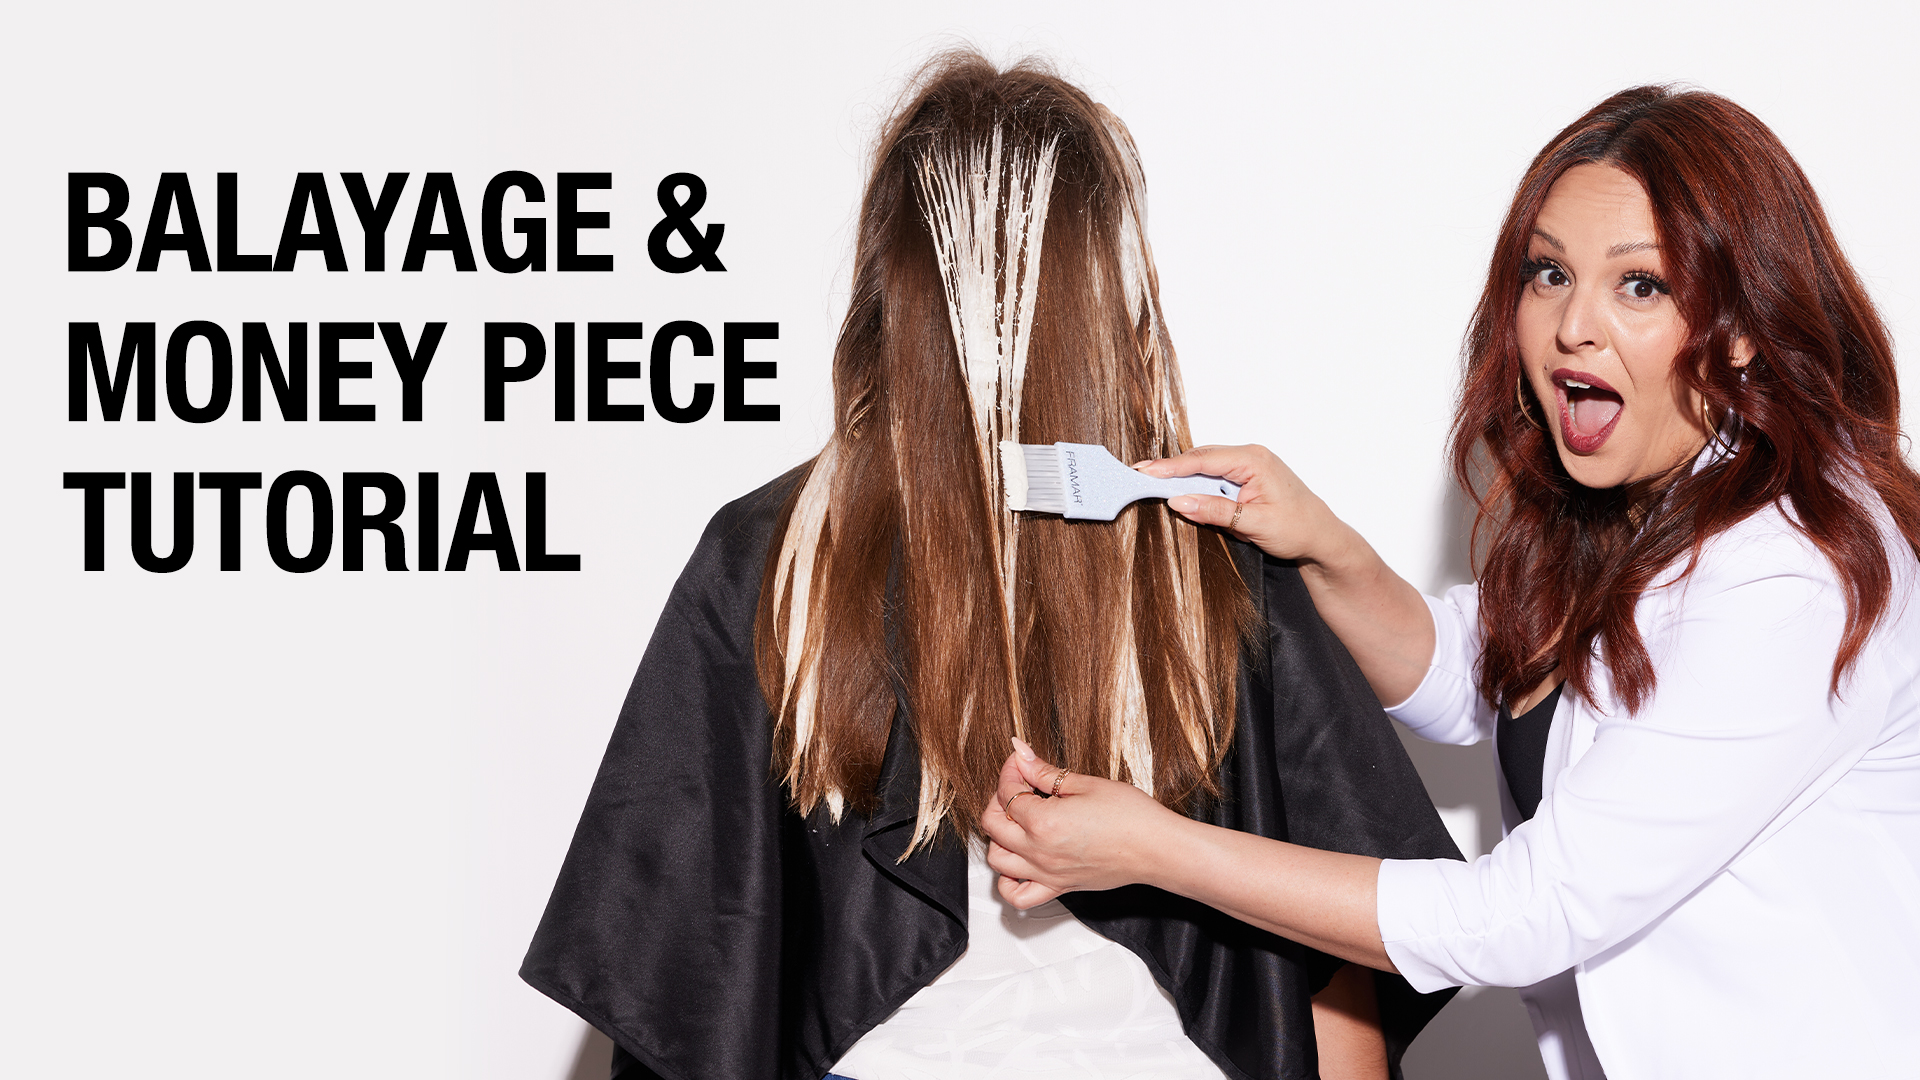
How To Balayage Using Clay Lightener
By: Kenra Professional
Featuring Mirella Manelli @mirellamanelli

Balayage continues to be one of the most requested services in the salon, providing a softer, more blended approach to contrast and highlights in the hair. Many lighteners can be used for balayage techniques depending on the stylist’s preference, but clay-based lighteners are specially designed for this type of technique, formulated to dry on the outside while allowing the inside to continue to lift the hair to the desired level. This also eliminates the need for foils, papers, cotton, or other separators typically needed with traditional lighteners mainly used for foiling.
In addition to using the right product, utilizing the right technique is also crucial for a successful balayage service in the salon. Here, Mirella Manelli demonstrates one of many balayage placements for a beautifully soft, yet dimensional result. Below are the steps to follow along and create this style on your next guest with the option to customize as you see fit.
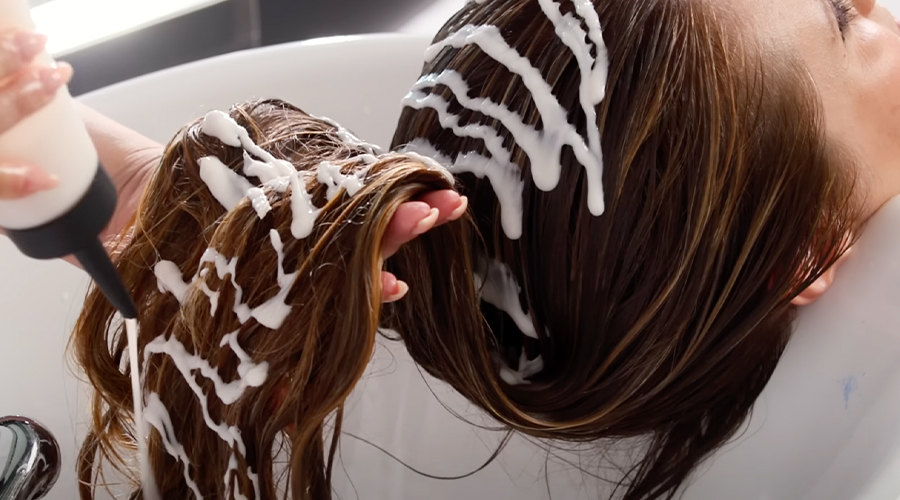
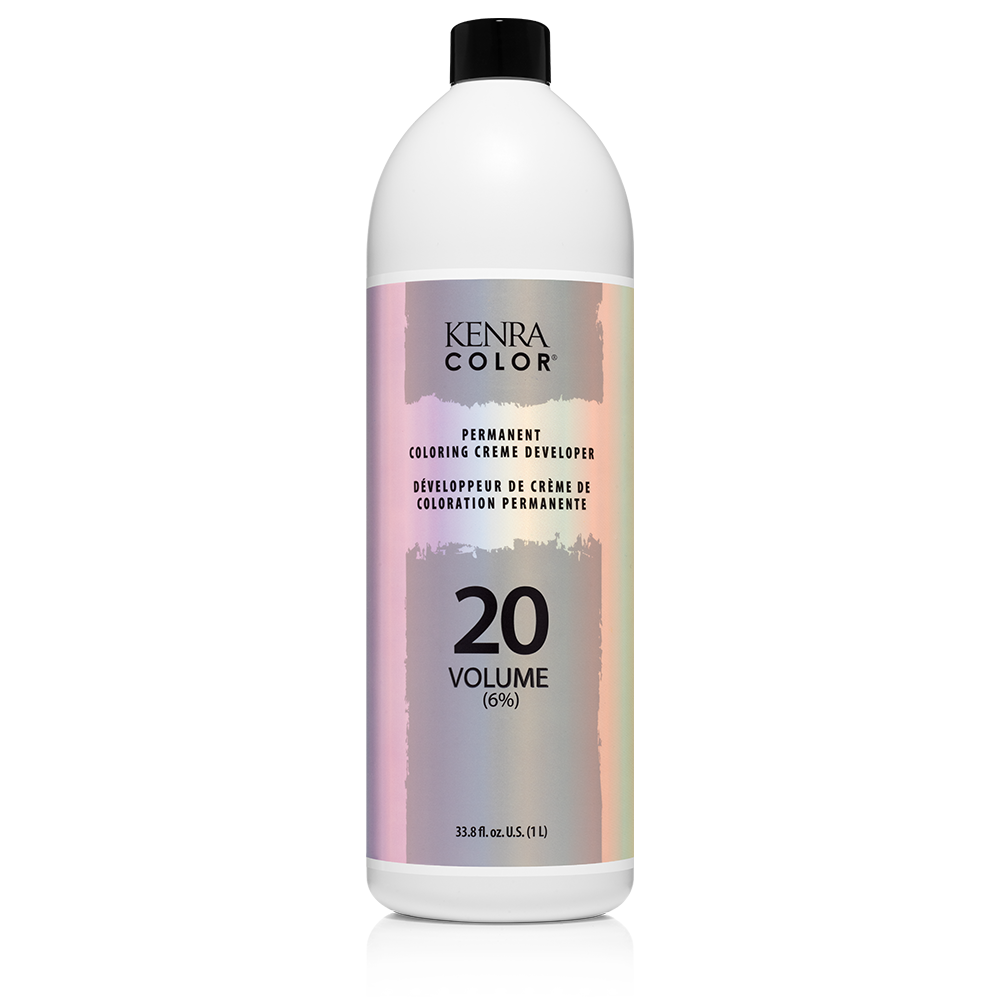
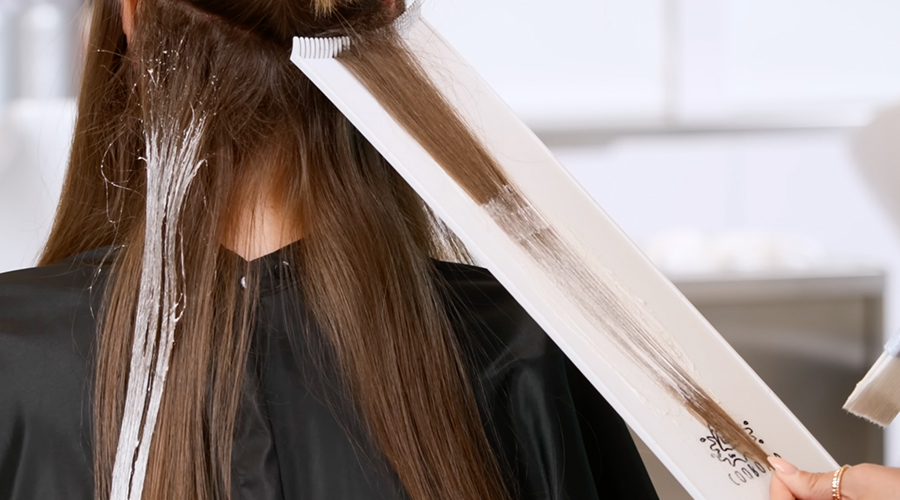
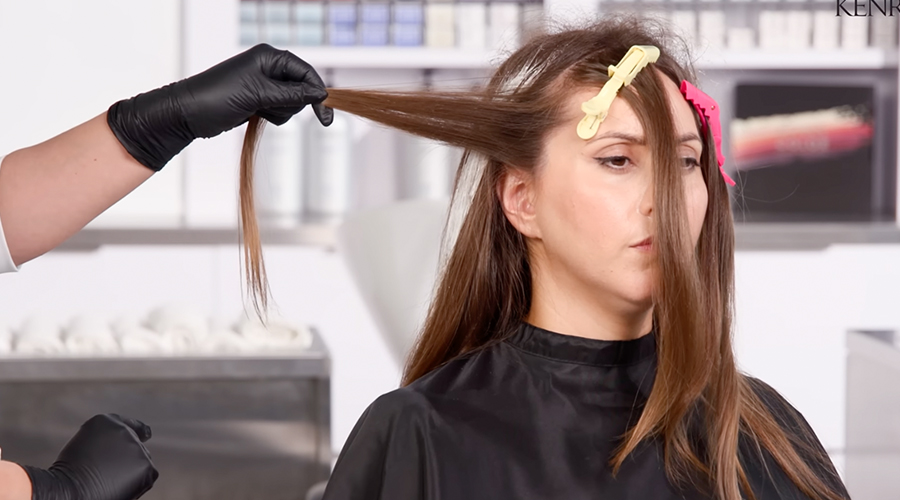
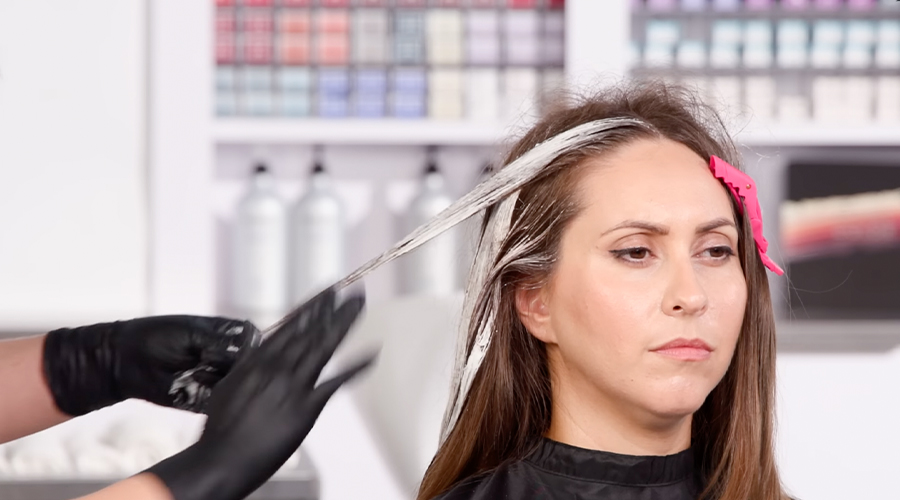
Step 1: Start the sectioning in the back around the ears by making a V-shaped section just below the occipital area. To maintain depth in the final result, the blonding focus will be on everything above the V-shaped section. Split the V in two subsections and take a large weave pattern with an optional tease for the first application. Begin painting the weaved section using Simply Blonde Clay Lightener mixed with 20 Volume Developer mixed at a 1:2 ratio. Focus on the midshaft and ends and work your way up, softly blending to the root as close or as far away as you or your client desires. Repeat on the other side.
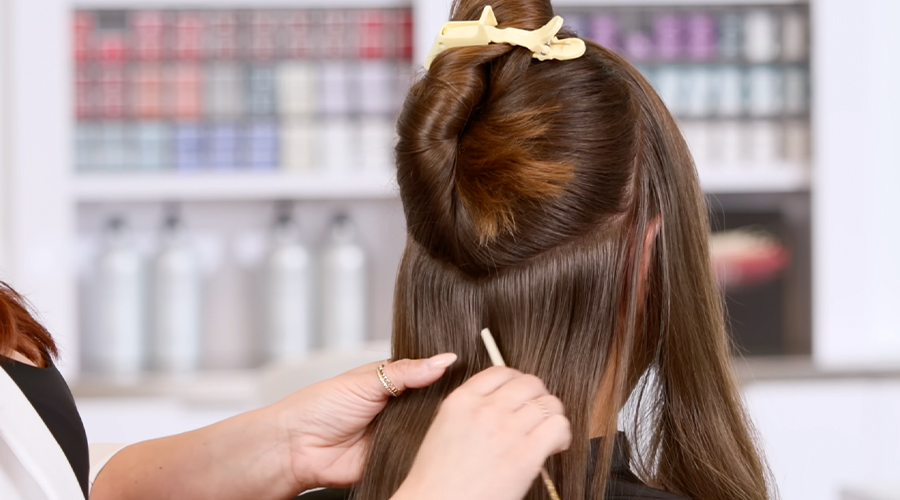
Step 2: Working up the head, the next section will be horizontal, creating a triangular effect that allows for depth in the interior. Take a similar heavy weave from the new sub-section and continue to paint as before. The ends of the air should be fully saturated with product with the midshaft and blending upward being more surface painted. Continue the alternation of V-shaped and horizontal sectioning with about two inches in between each other—all the way up the back of the head to the apex. As you get towards the top, paint the horizontal sub-sections in a V-like manner, adding to the depth and contrast that will help to provide a more rooted effect. In the last section at the top, reduce the heavy weave to a smaller weave for a more diffused result.
Step 3: Moving to the sides, isolate the hair around the face up to two inches back as this will be part of a high contrast money piece for brightness around the face. For the remaining hair, the sub-sectioning should be diagonal forward to keep the blonde diffused and blended. Continue the full saturation on the ends and surface painting on the blend upward. Remember that doing an optional tease in the sub-sections will add even more diffusion.
Step 4: For the money piece sections on the sides, the entire section of hair reserved for it will become one vertical sub-section. Carefully surface paint on the side towards the face and feel free to work your way up closer to the root area for maximum brightness but be mindful of baby hairs that need not be painted. Saturate the ends for consistency throughout, and do the same thing in the top front sections. Process up to 45 minutes.
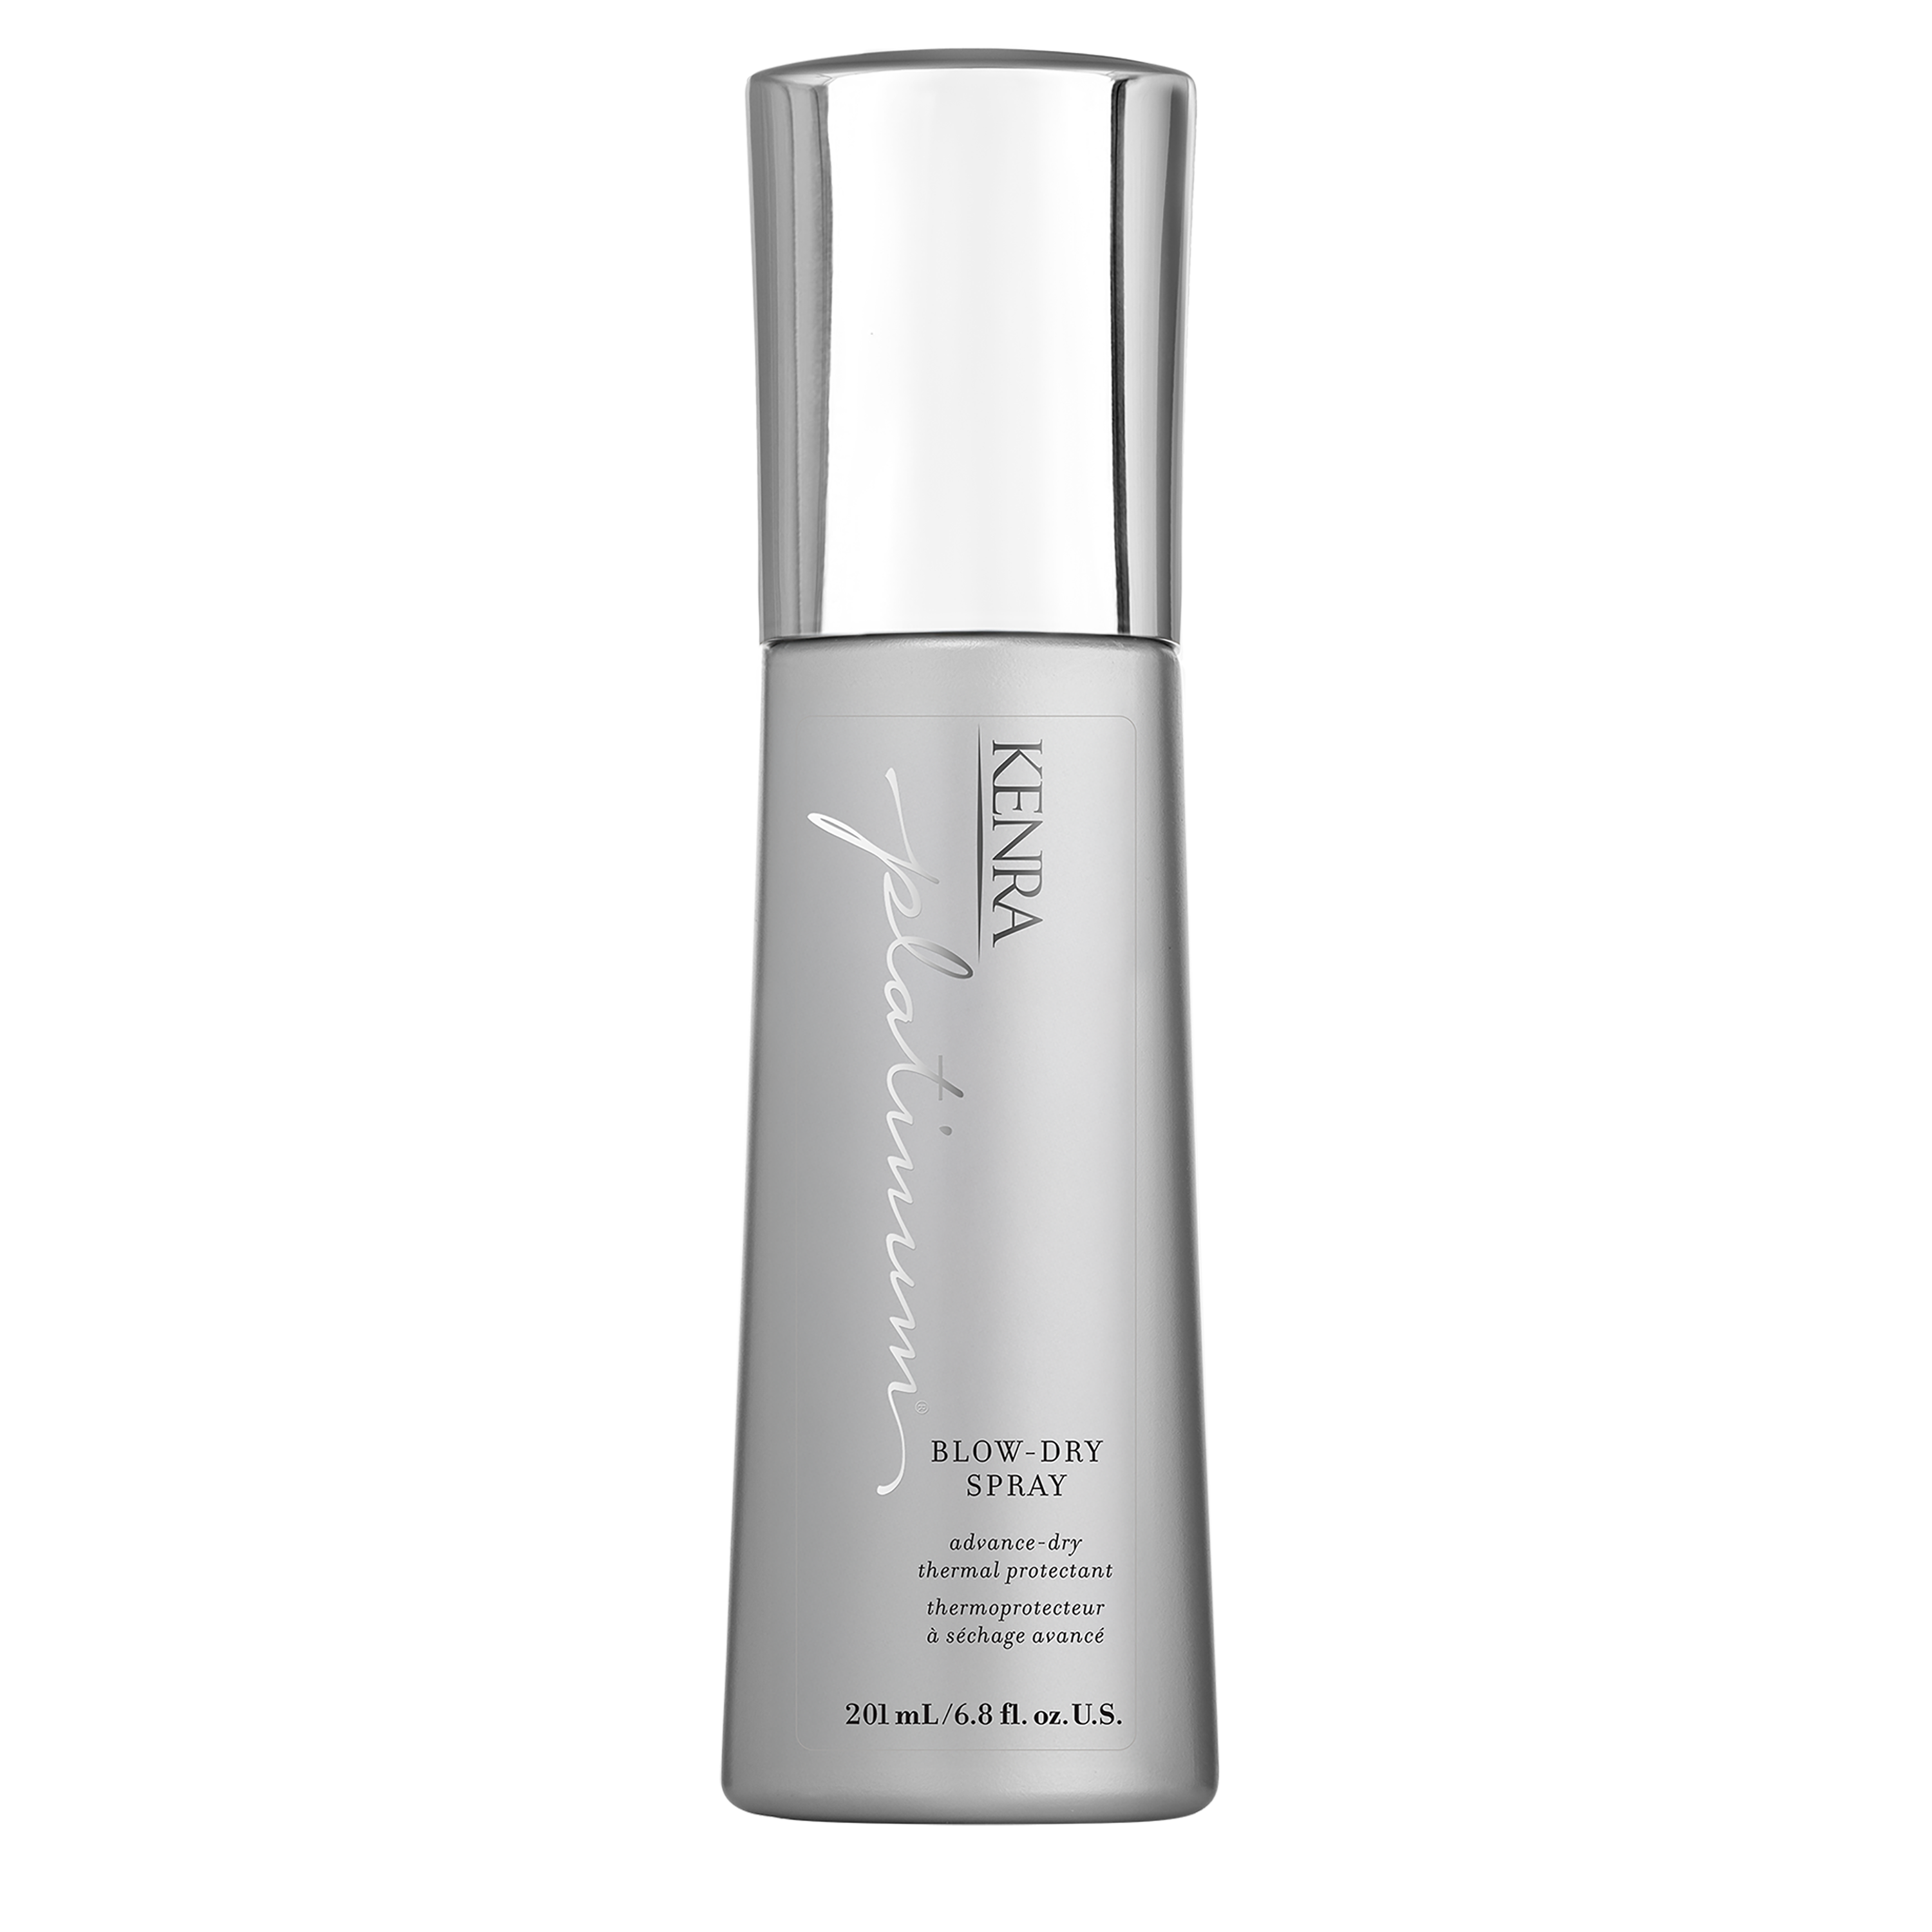
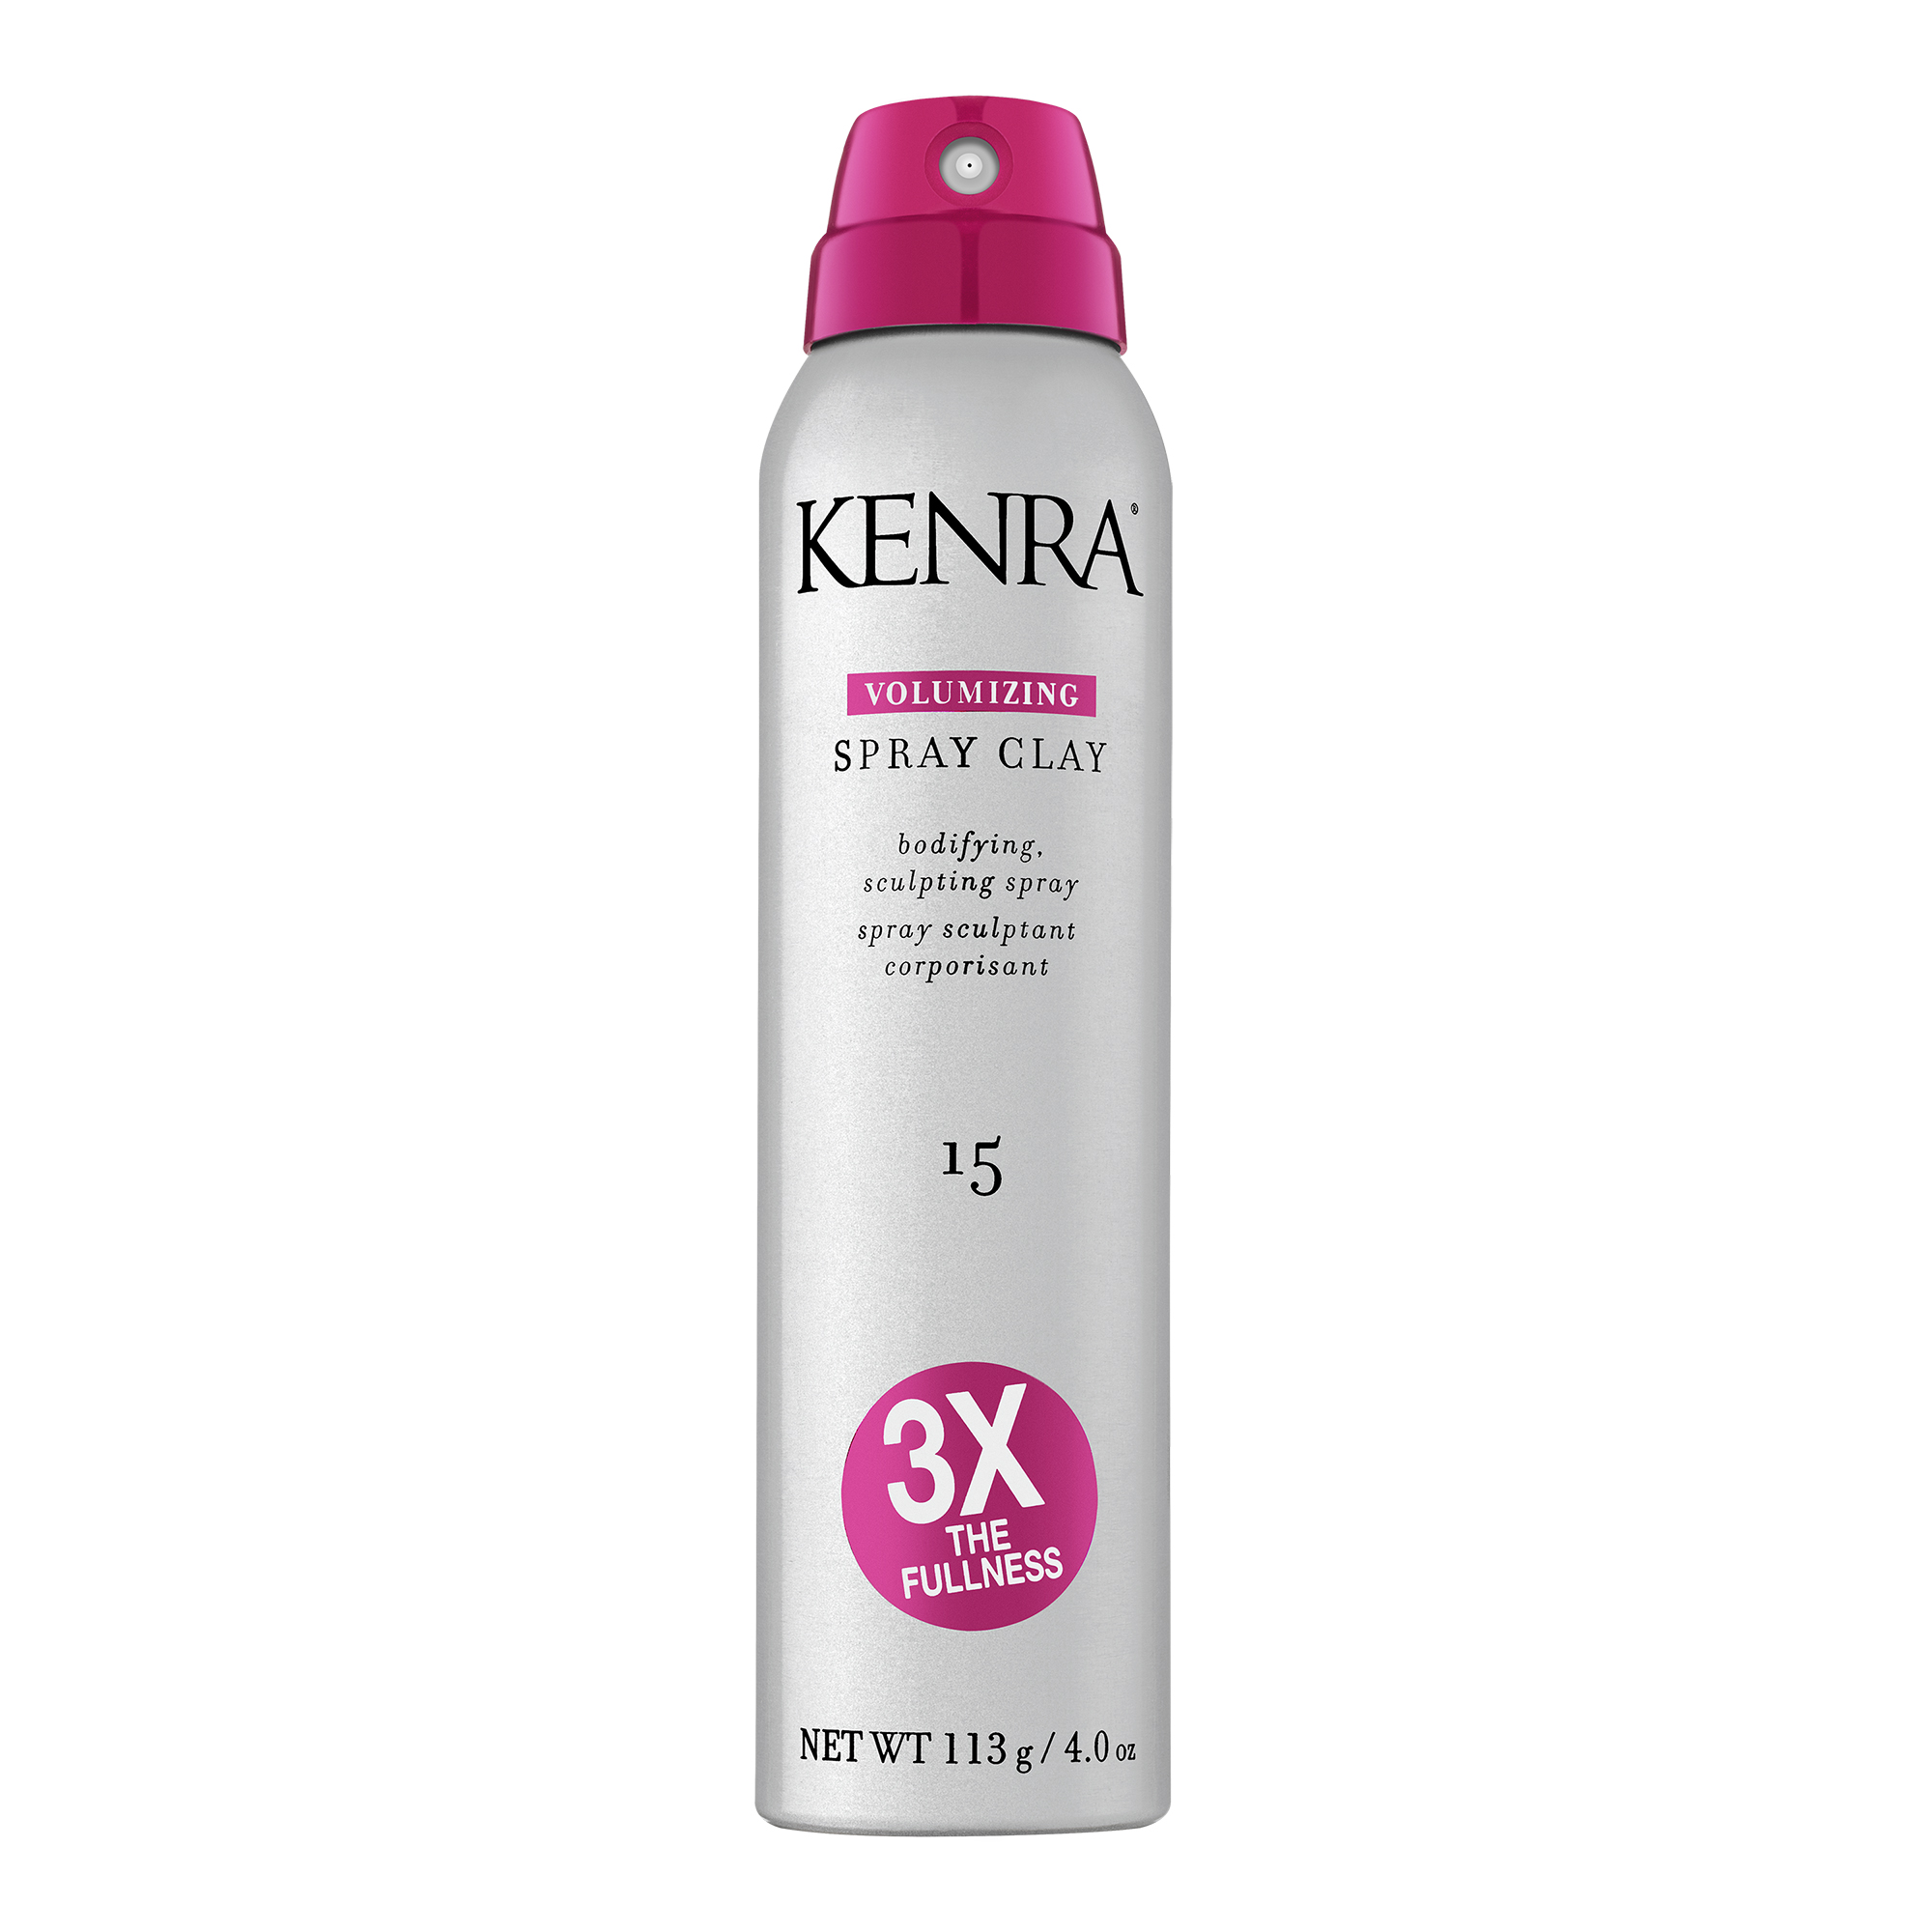
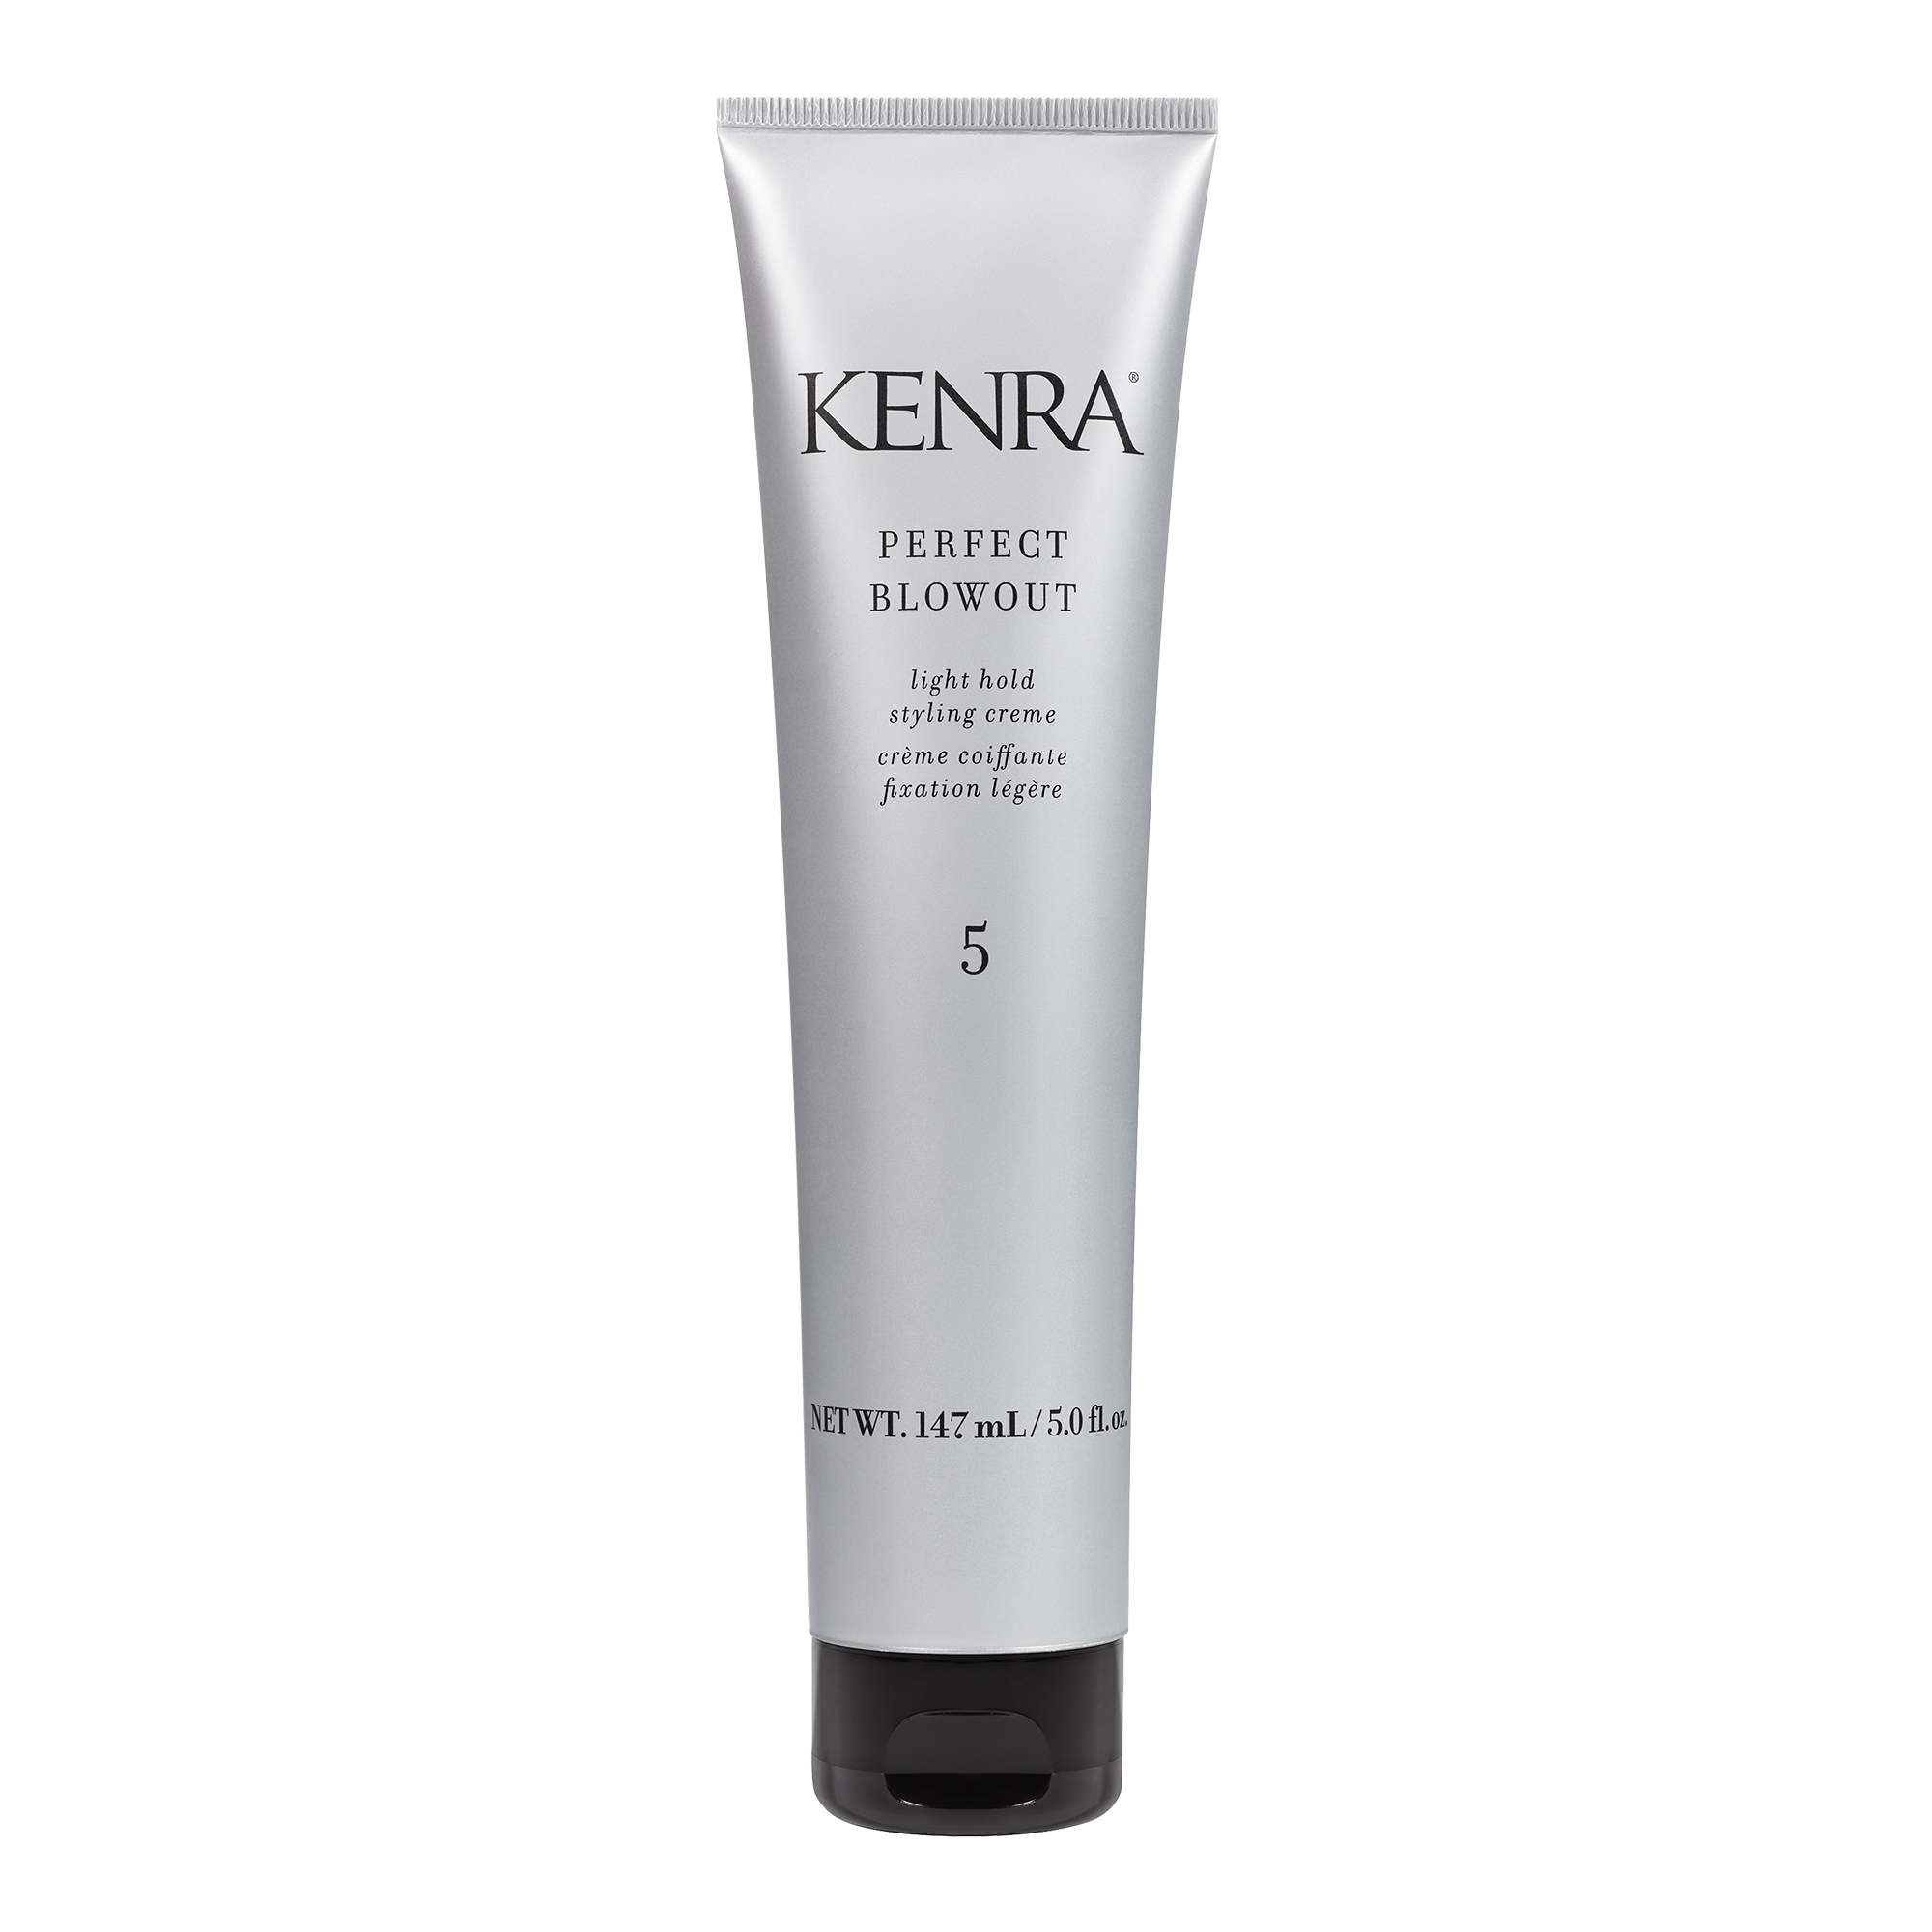
Step 5: Shampoo using Kenra Moisturizing Shampoo and Conditioner and apply Beige Rapid Toner for a balanced blonde that isn’t too cool or too warm. Process for five minutes, shampoo, condition, and style as desired. For this particular look, Mirella did a voluminous blowout using Blow-dry Spray and Perfect Blowout 5 for thermal protection and styling memory. She then used Volumizing Spray Clay 15 for added fullness and texture before curling with a 1.5” curling iron. Watch the video below to see this technique come to life!