How to Do a High-Speed Balayage
By: Kenra Professional
May 2023
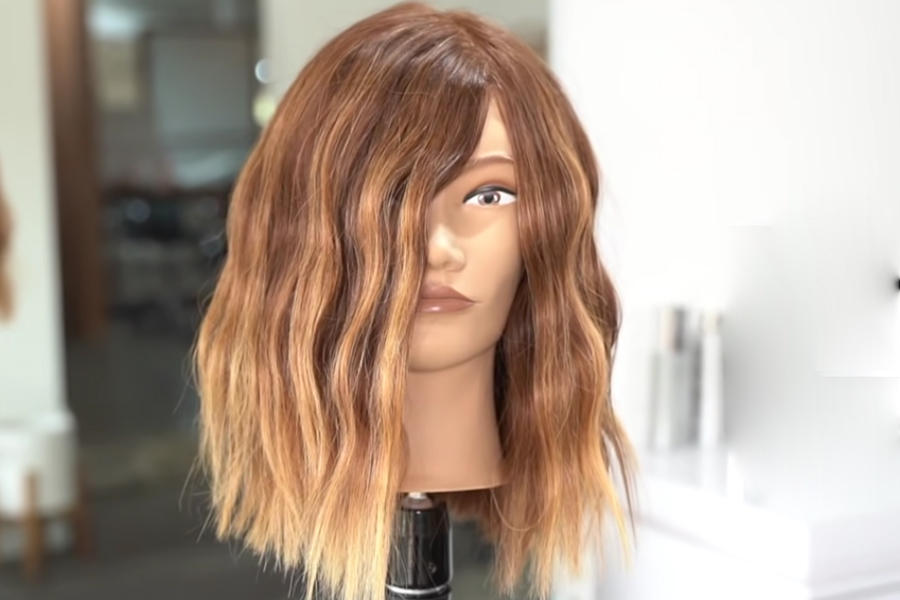
How many times have you had a client that asks for balayage but is pressed for time? We get it. Life is crazy and fast-paced, and time is of the essence. Although good work and good hair take time to masterfully create, Kenra Professional Artistic Ambassador Lo Wheeler shows us a technique that she uses for a high-speed balayage technique that you can also do on your clients in the salon.
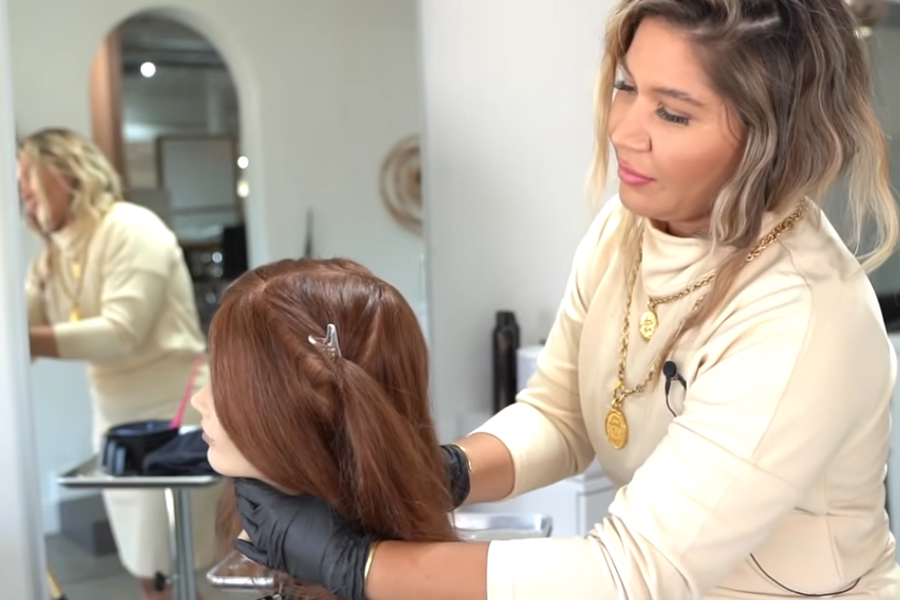
Step 1: Start by sectioning your client based on where they typically part their hair. From the part line, create two large triangle sections on either side, starting about two inches back from the hairline. Everything in the front outside of the triangles will be their own frontal subsection. The reasoning behind triangular subsections is that they create a natural diagonal workspace and allow for softness and diffusion in the end result. Mix Simply Blonde Blue Powder Lightener or Clay Lightener with 20 or 30 volume developer at a 1:2 or 1:3 ratio (depending on your preference) and begin the application by working under the triangle just above the ear on one side.
Step 2: Balayage the subsections above each ear by using the flat side of your color brush. Work from side to side to ensure evenness in lift and processing. Blend upward with the brush so that the lightener does not go all the way to the root for a lived-in look.
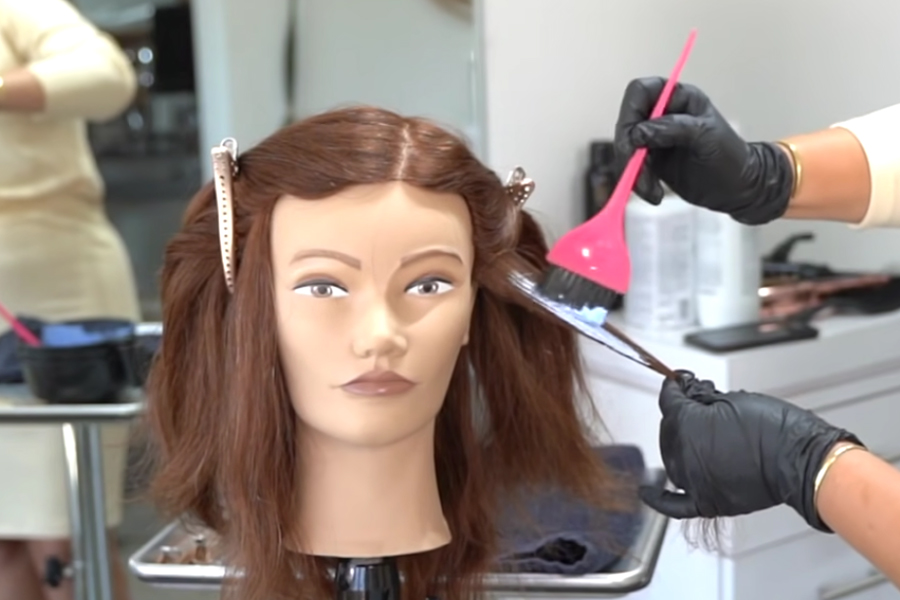
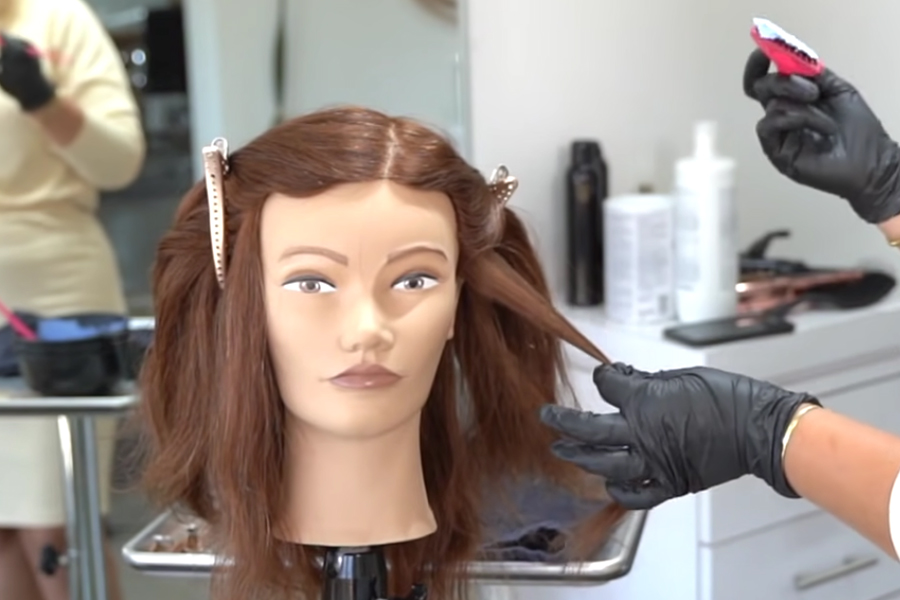
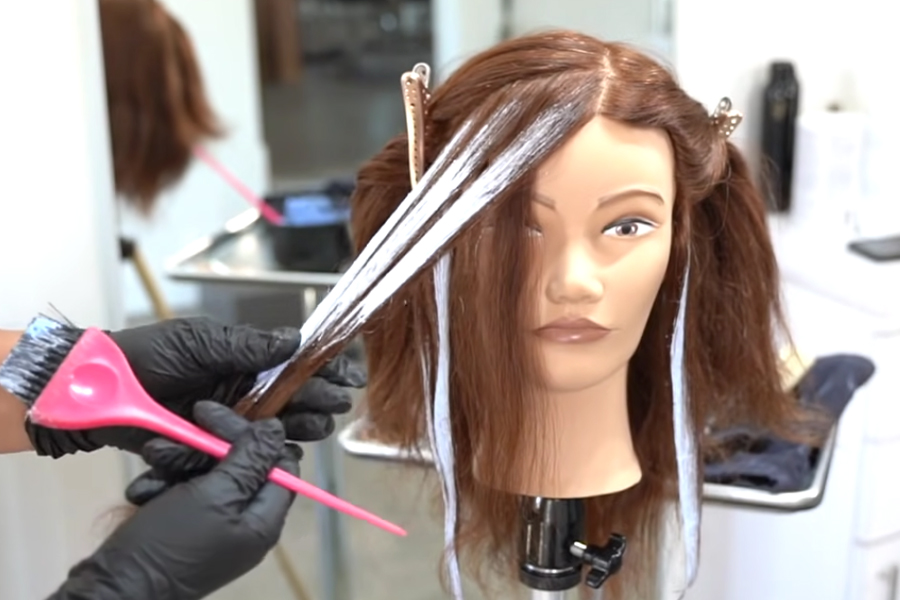
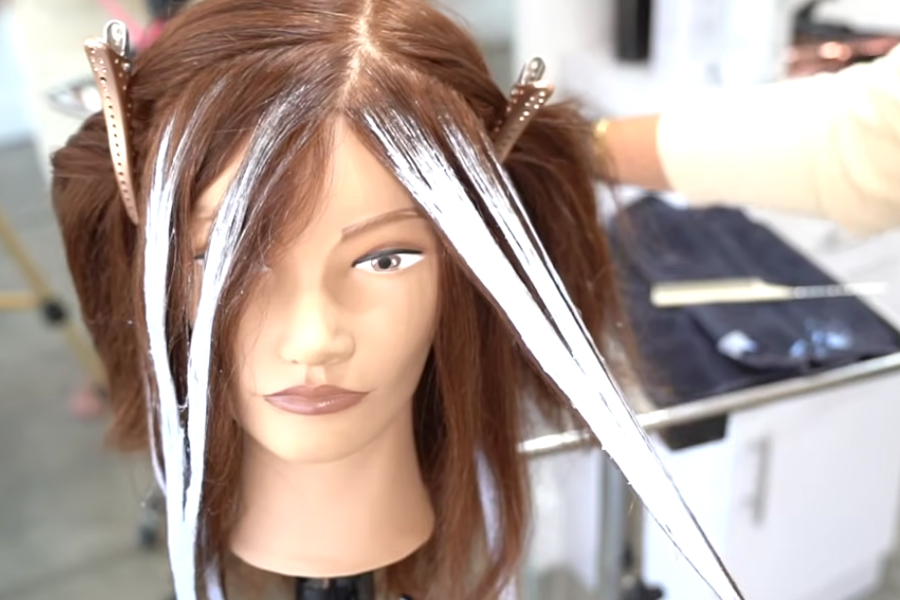
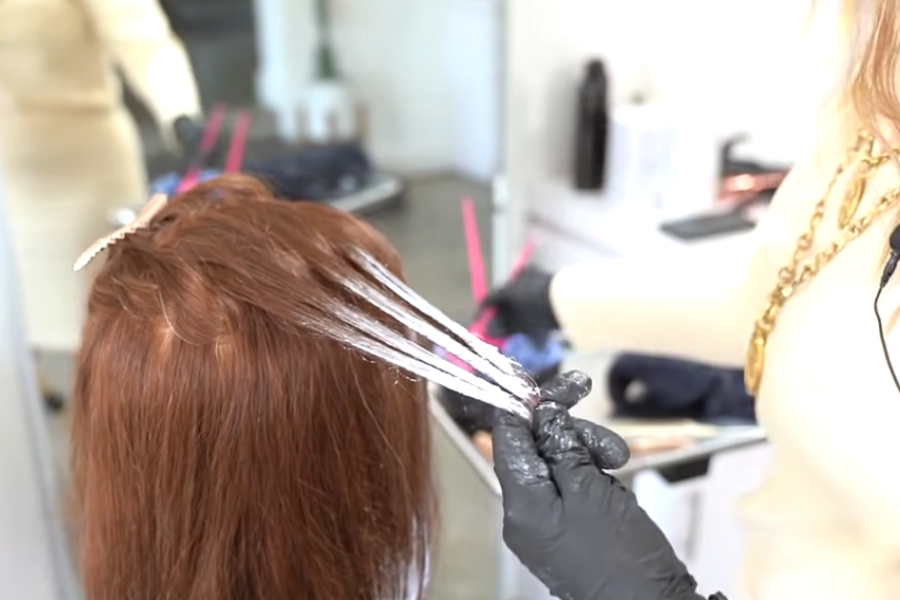
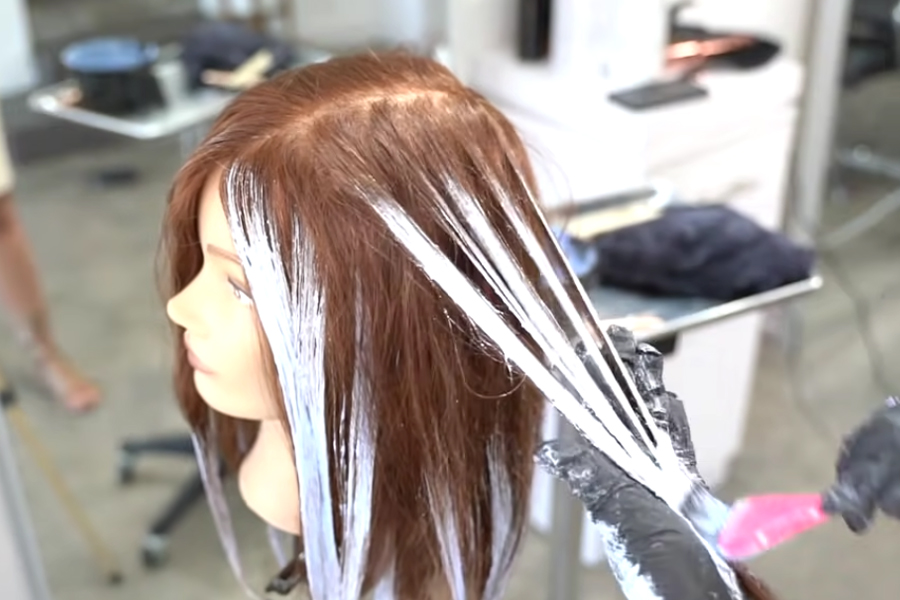
Step 3: Once both subsections above each ear have been completed, move to the rest of the front sections that are outside of the triangle, separated by the part line. This is the area that will make the most impact as it is around the face. Take one entire section and do a heavy or chunky weave with your comb before applying lightener to the section, and continue the same pattern of starting in the midshaft and feathering the product upward for an off-scalp seamless blend. The mids should be surface painted while the ends should be fully saturated. Repeat this weaved process on the other side/front subsection.
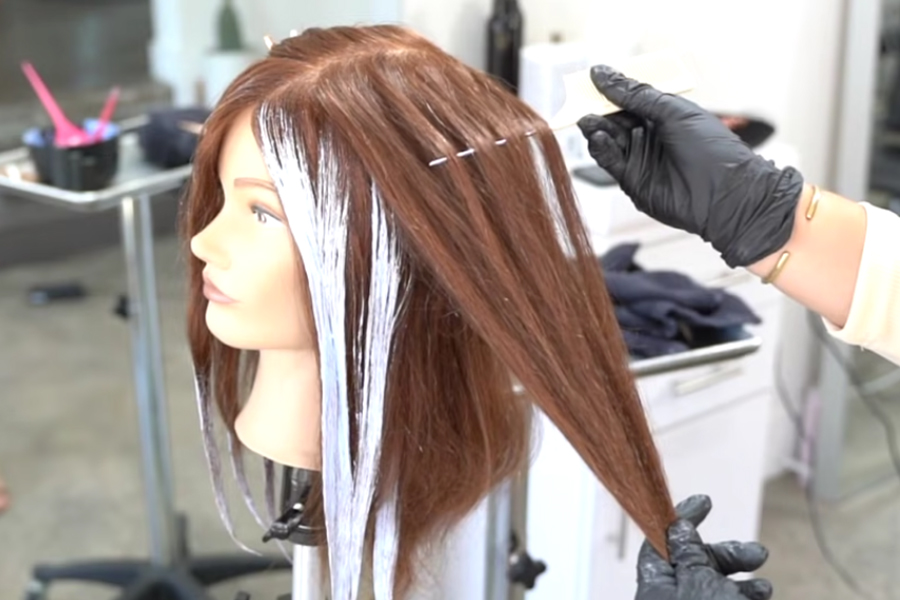
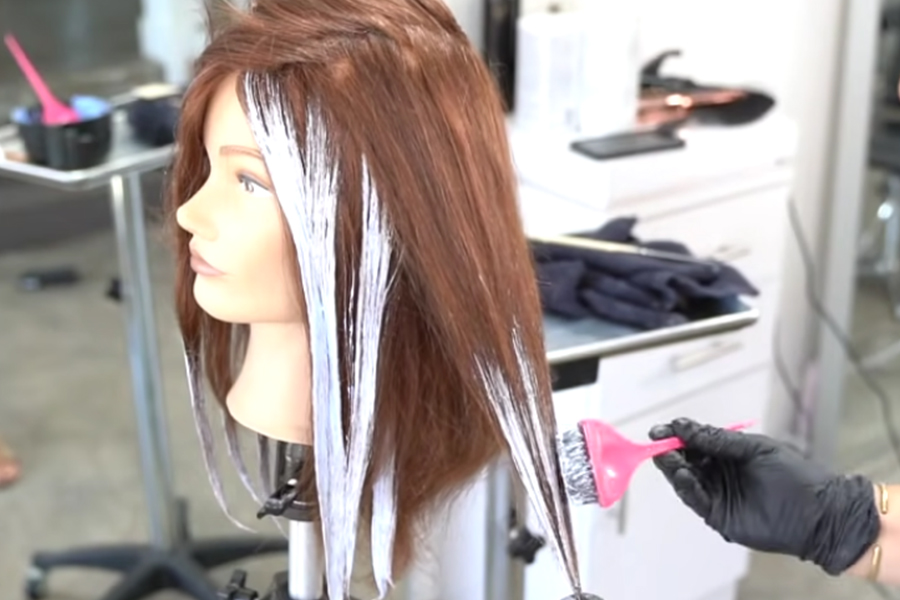
Step 4: Drop down the triangular sections by removing the clips and assess the natural fall of the hair. Take a large, weaved subsection from the top and separate it from the rest of the section. Take the remaining hair underneath the weaved section and balayage just the ends of the hair for lightness towards the bottom. Feel free to get creative with highs and lows in your balayage placement here as this should be customized to your guest. Repeat the same process of separating a heavy weave from the top sections and painting the ends underneath the weaved out sections in the back and on the other side.
Once that portion is completed, go back to the previously separated heavy weaves in each section and balayage those much higher than the underneath sections, blending upward to a few inches off the scalp for lived-in diffusion.
Step 5: Process without heat until the appropriate lift has been achieved. Shampoo, condition, and tone according to your client needs. Kenra Color Rapid Toners allow for toning in five minutes or less, so this will help your cause in a service meant to save time. Style as desired.