Everything You Need To Know About Straightening Curly Hair

By: Kenra Professional
We love voluminous, bouncy, natural curls, but sometimes it’s fun to switch things up. Whether you are dressing up for a fancy event or just want to change up your hairstyling a bit, it can be a fun change of pace to rock sleek, straight, shiny hair. To achieve this stunning style on curly hair, you will need the right products and the help of a flat iron.
Today, we will walk you through the best technique for straightening curly hair and give you tips and tricks on how to make it last longer.
Our Philosophy
At Kenra Professional, we work hard to deliver outstanding products and educational resources to help hairstyling professionals and at-home beauty enthusiasts alike achieve salon-quality hairstyles with polished, professional finishing touches.
We know that if we empower you with professional instruction and top-of-the-line products, you will be able to style with precision and ease. With just a little bit of practice, you can achieve your hairstyling goals and look like you just left the salon every single day.
Straightening Curls Starts With a Wash
Before you get to work straightening your curls, you will need to thoroughly wash your hair to remove any products or buildup. We recommend starting with a shampoo and conditioner that will set you up for styling success.
Try our Signature Style Prime Shampoo and Conditioner. This style-enhancing duo works great on all hair types to prepare them for heat styling tools by smoothing the strands for optimal product absorption later on.
Prepare Your Hair for Styling
Once you have freshly washed and conditioned your hair, it is time to prep your hair for styling.
Leave-In Conditioner
While your hair is still wet, add a generous amount of Luxe One Leave-In. This moisturizing spray is enriched with precious gold to give your hair a smooth, lustrous shine. Applying this leave-in conditioner will also help lock in moisture, preventing any split ends or breakage during styling. Simply shake the bottle and then spray a liberal amount of the product onto your hair. Then comb the product through your hair with a wide-tooth comb.
Dry Your Hair Completely
After you have prepped your hair with a leave-in conditioner, dry your hair completely. If you have some time to spare, it is best to let your hair air dry to avoid exposing it to two types of heat styling in one day. However, if you are pinched for time, you can blow dry your hair using a diffuser nozzle to decrease the amount of direct heat.
As you dry your hair, gently brush your hair straight to begin to encourage your curls to straighten. This won’t fully straighten your hair but it will help later on. Make sure to completely dry your hair. If your hair feels dry but is cold to the touch after cooling off from the dryer, it is not yet completely dry. Do not begin straightening on wet hair, as this can burn, break, and damage your hair permanently.
Heat Protectant Spray
Once your hair is fully dry, spray on some Signature Style Heat Cast Spray 12. This thermal protectant spray will create a barrier between your hair strands and the flat iron’s heat to further protect your hair from damage. To apply the spray, shake the can, then hold it eight to ten inches away from your hair and then spray all over. You can work section by section if you have a lot of hair.
Prepare Your Tools
Now that your hair is all prepped and ready, it is time to prepare your styling space. Make sure you have the following tools ready to go:
1) Flat iron
2) Wide-tooth comb
3) Hair clips or hair ties
4) Hairspray
Heat Up Your Flat Iron
Time to heat things up. Plug your flat iron in and set the heat to the temperature needed for your hair type and texture. If you’re not sure which temperature works best on your hair, start low and work your way up. Ideally, you want to use the lowest heat setting that gets the job done without scorching your hair: the less heat, the better.
Make sure that you set up in front of a mirror with plenty of space for you to move around in. There is nothing more frustrating than accidentally bumping your skin with your straightener or knocking your products all over the place.
Section Your Hair
Next, use your hair clips to section your hair. For best results, start straightening at the bottom and then work your way up. Put the top two-thirds of your hair up so that only a small section at the nape of your neck is down.
Straightening
Work with small one-inch sections at a time. Pull the small section taught with one hand, and then use your other hand to clamp the flat iron around the hair near the root. Glide the flat iron gradually down the strand of hair. You may need to straighten the section a couple of times, depending on how curly your hair is. Once the strand is smooth and shiny, repeat the process on the rest of the section.
After you have straightened the bottom, unpin the next section of your hair and straighten it strand by strand. Repeat this process until all of your hair is straightened.
Touch-Ups
Now that you have straightened your hair, it is time to do some fine-tuning. Run your fingers through your hair and check the back with your mirror for any spots you may have missed. Straighten those pieces until you are satisfied with your sleek hairstyle.
Finishing Touches
At this point, your arms are probably pretty sore, but you’re not done just yet. After you have finished straightening, you will want to preserve your styling with some finishing products. This is what makes the difference between an okay style and a salon-quality style.
Shine On
To give your hair that red carpet shine, we recommend that you finish off with some Signature Style Veil Styling Crème. This product was the 2021 Glamour award winner for Best Pro Hair Shine Booster.
This finishing crème will tame any frizz or flyaways, lock in moisture, and give your sleek hair a lustrous shine. Simply rub a small amount in between your fingers and then gently work it through your hair.
Seal the Style With Hairspray
Finally, give your hair a mist of hairspray to set the style so your glossy new hairdo will last all night long. For added shine, try Signature Style Glass Spray 6. This salon-quality hairspray is a lightweight, low-hold, style enhancing finisher. The special formula is enhanced with purple orchid to moisturize and condition your hair after heat styling.
If your hair is struggling to hold as you are straightening, you can also apply this spray section by section as you go to help reinforce the style. To use the spray for finishing effects, shake the can and then hold it eight to ten inches away from your head and spray all over.
Tips To Make Your Style Last
When you have first straightened your hair, try not to put it up with a hair tie for a while, unless you’re going for a sleek ponytail. Freshly heat-styled hair will kink and bend much more than hair that was straightened a few days ago.
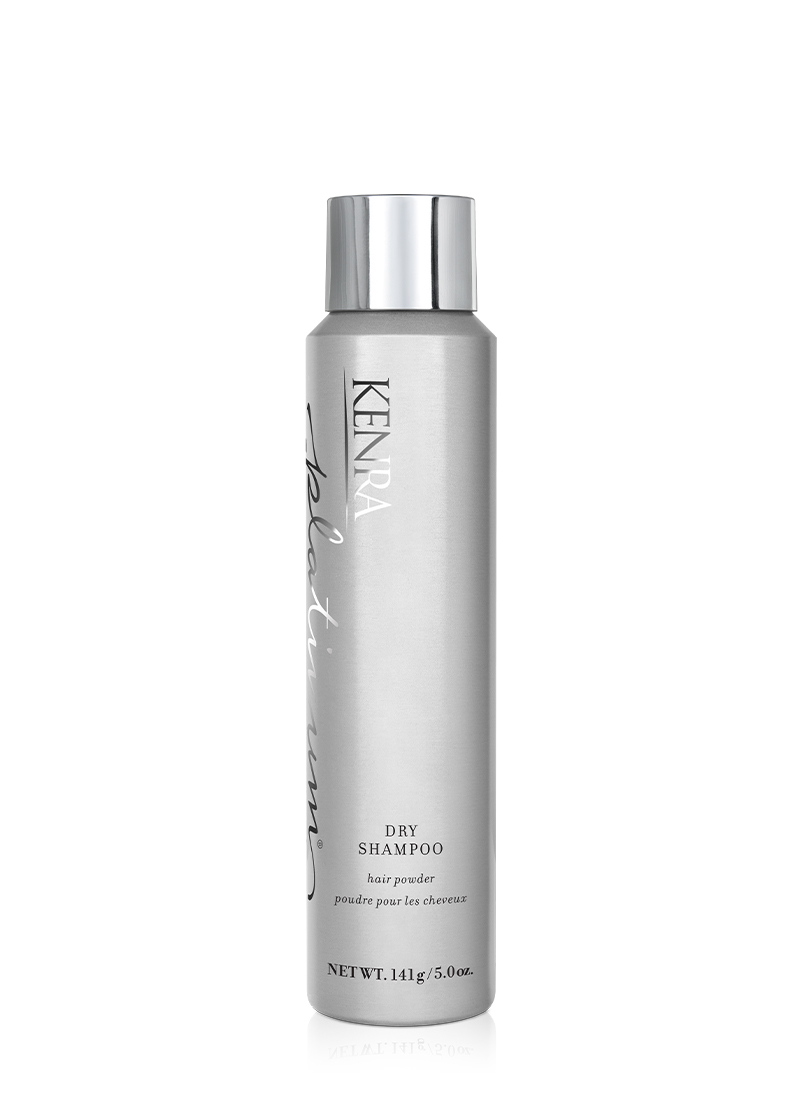
If you want to preserve your new sleek style for a couple of days, try using some Dry Shampoo at the roots to keep it fresh. You may also need to do tiny touch-ups after sleeping on your straightened hair.
If you begin straightening your hair frequently, don’t forget to give your hair breaks from time to time. Even when you use heat protectant spray, your hair will inevitably dry out from repeated heat styling.
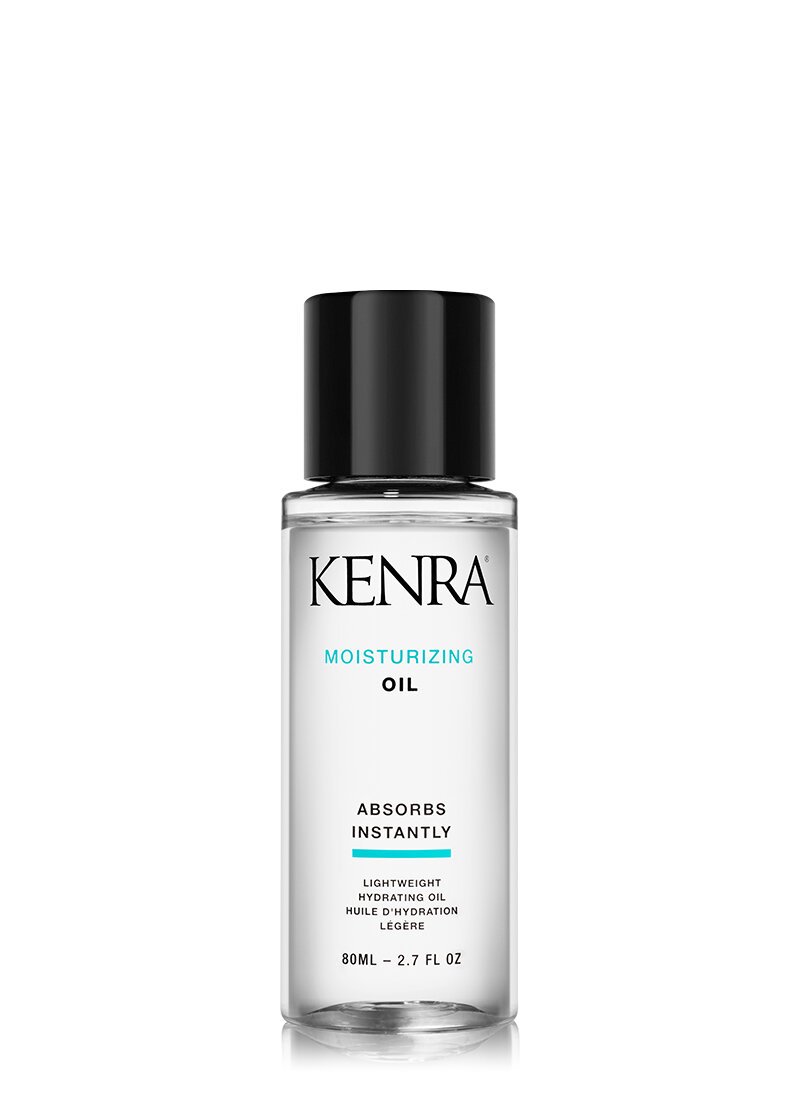
Get regular trims to keep the ends of your hair healthy and regularly apply Moisturizing Oil to keep your hair nice and healthy. Remember, your curls are gorgeous, and the best part of hairstyling is all the different ways you can express yourself with different styles and textures.
Summary
With a little bit of practice, you’ll be straightening your curls like a professional stylist in no time. Just remember to always dry your hair completely before straightening and use heat protectant spray to protect your hair. At the end of the day, there is only so much that you can accomplish with styling and products; healthy hair is the key to endless good hair days.


