How To Do a Salon Quality Blowout at Home
By: Kenra Professional
There is nothing quite as relaxing as lying back in your hair stylist's chair as they dry your hair into voluminous, smooth perfection. But what happens when you want to rock a gorgeous mane and don’t have time to spend an hour or two at the salon?
Luckily, a blowout isn’t too difficult to achieve at home. All you need is a good hairbrush, hairdryer, a couple of products, and a little bit of technique.
Kenra Professional has created products for professional stylists for over 30 years. Nowadays, professional stylists aren’t the only ones who need premium hair care products. So many people have become at-home beauty professionals, and we want to give them the products and education they need to create salon-quality looks any day of the week.
So, whether you are trying to give yourself a gorgeous blowout for dinner with friends, a wedding, or perhaps just a random Tuesday, we are here to back you up with premium products and step-by-step tutorials. Get ready to make every day a good hair day.
The Perfect Blowout Starts With a Deep Clean
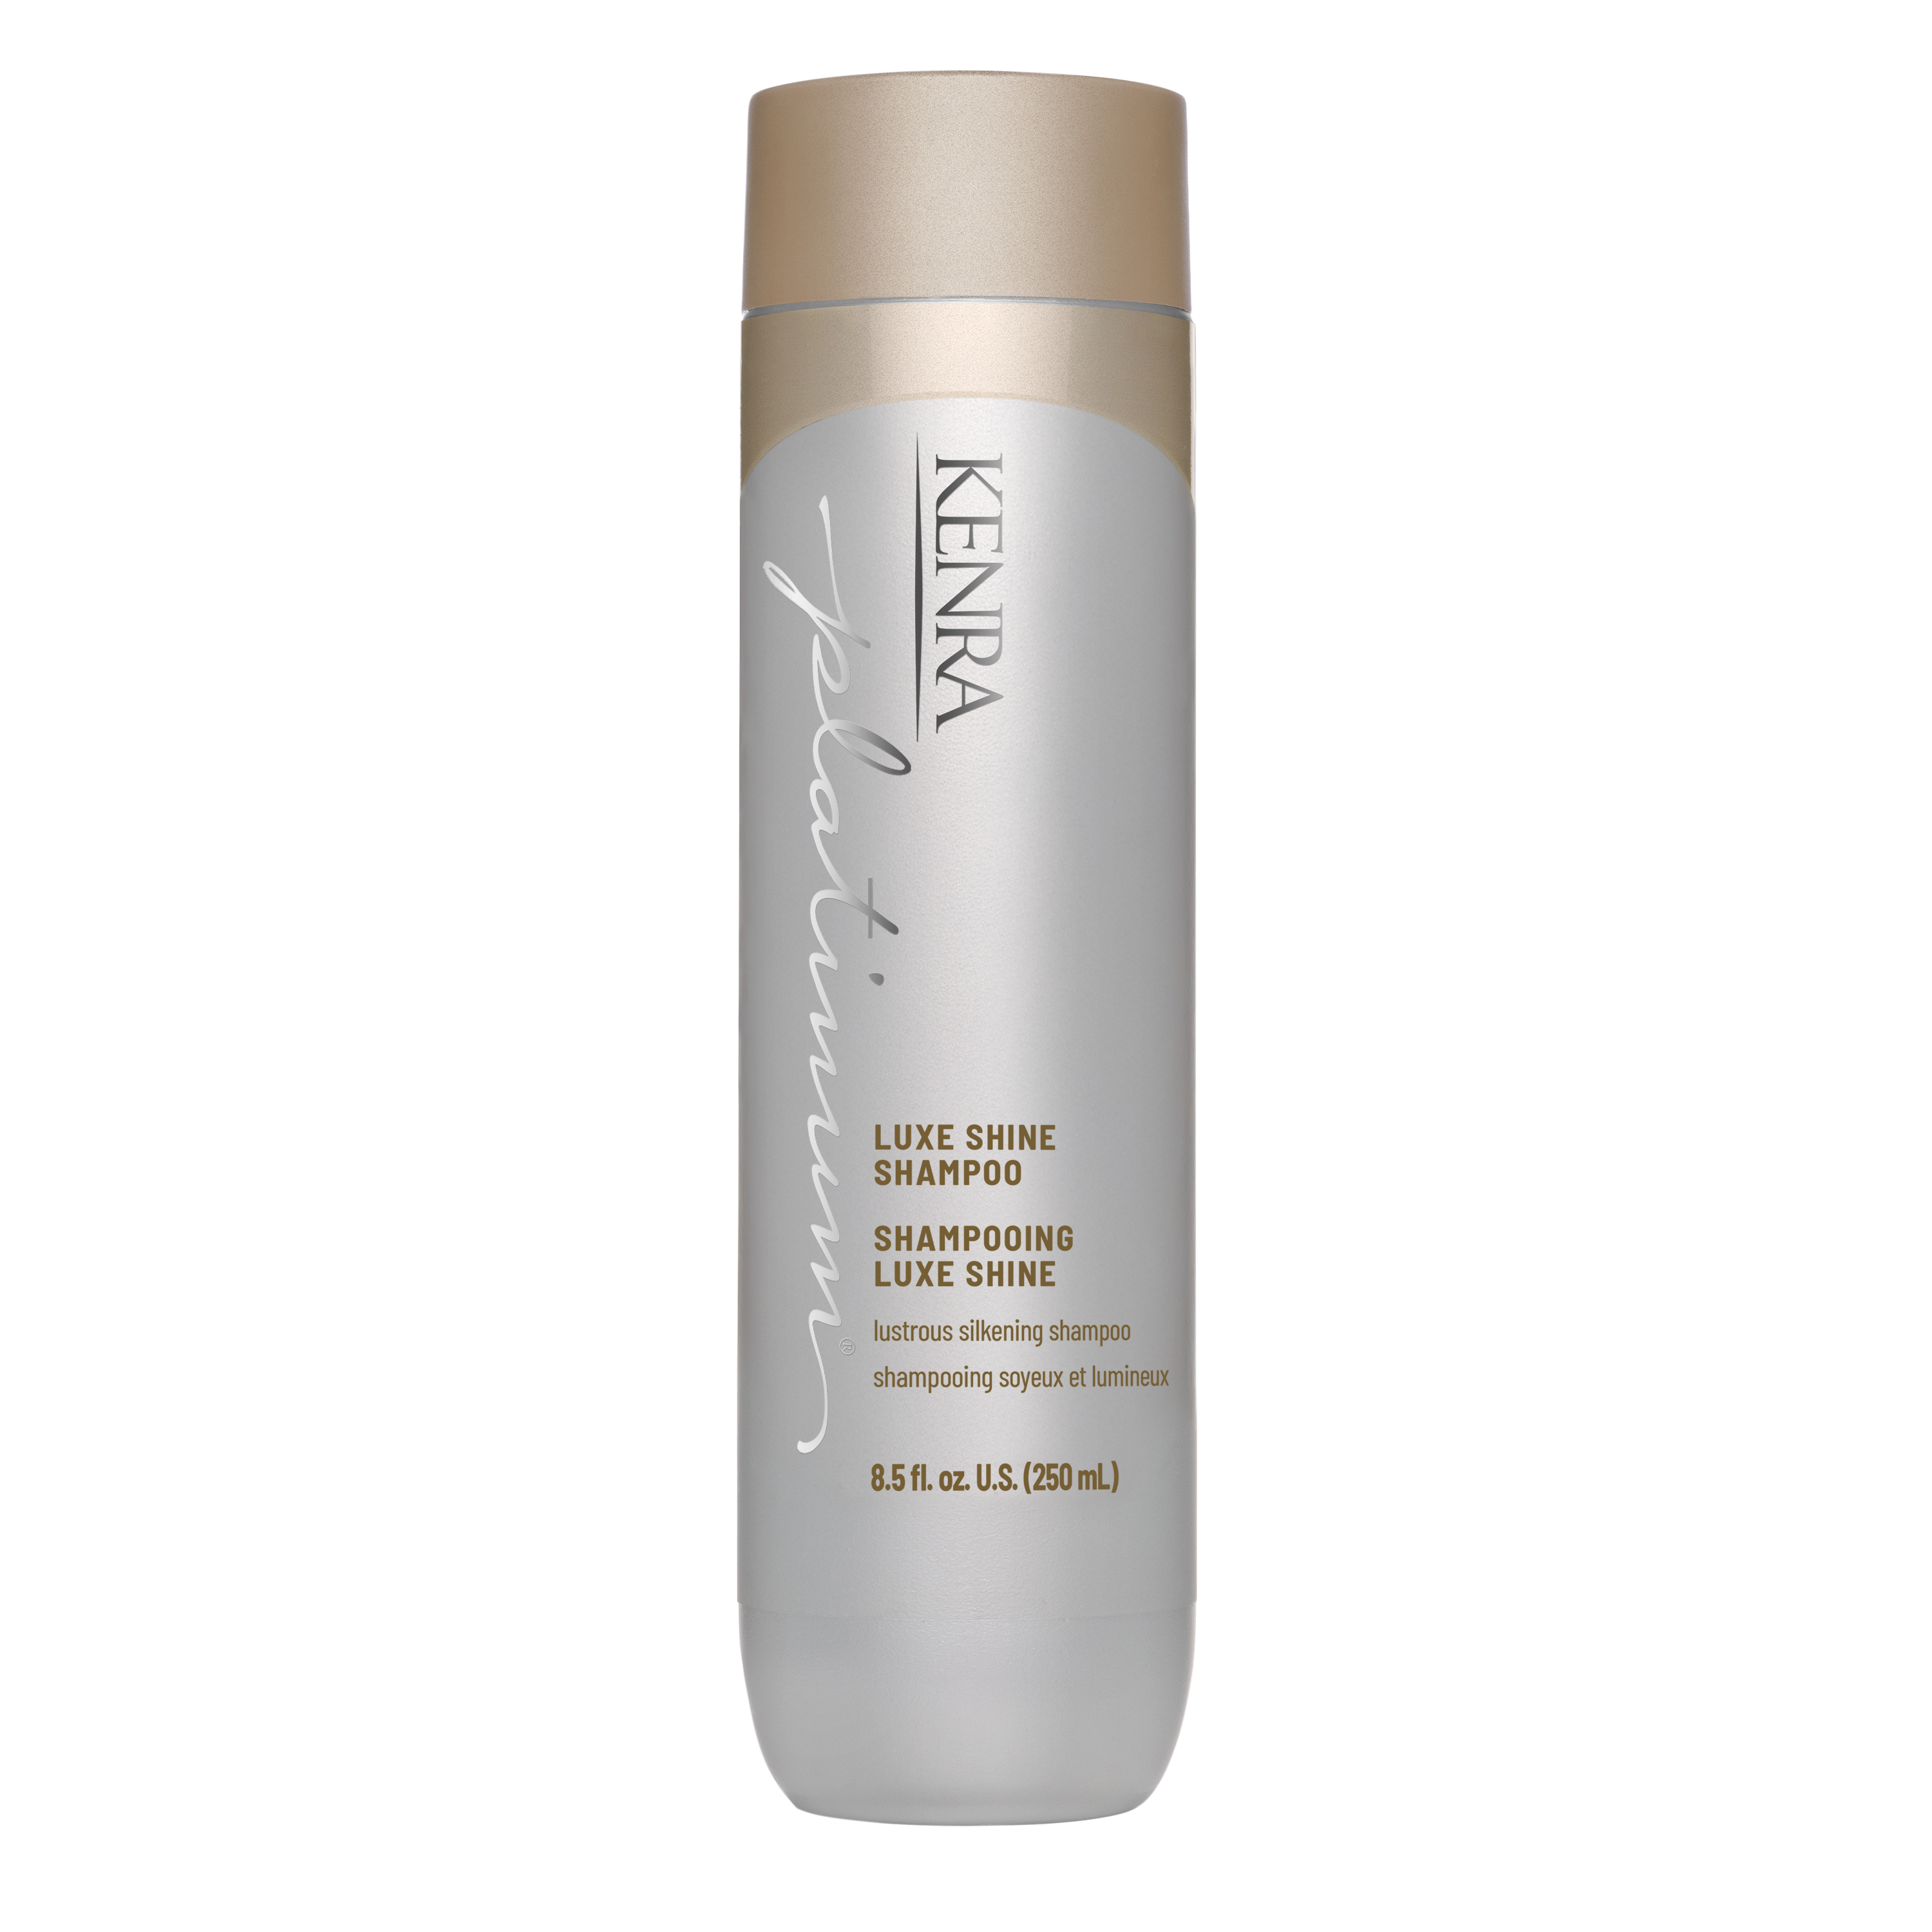
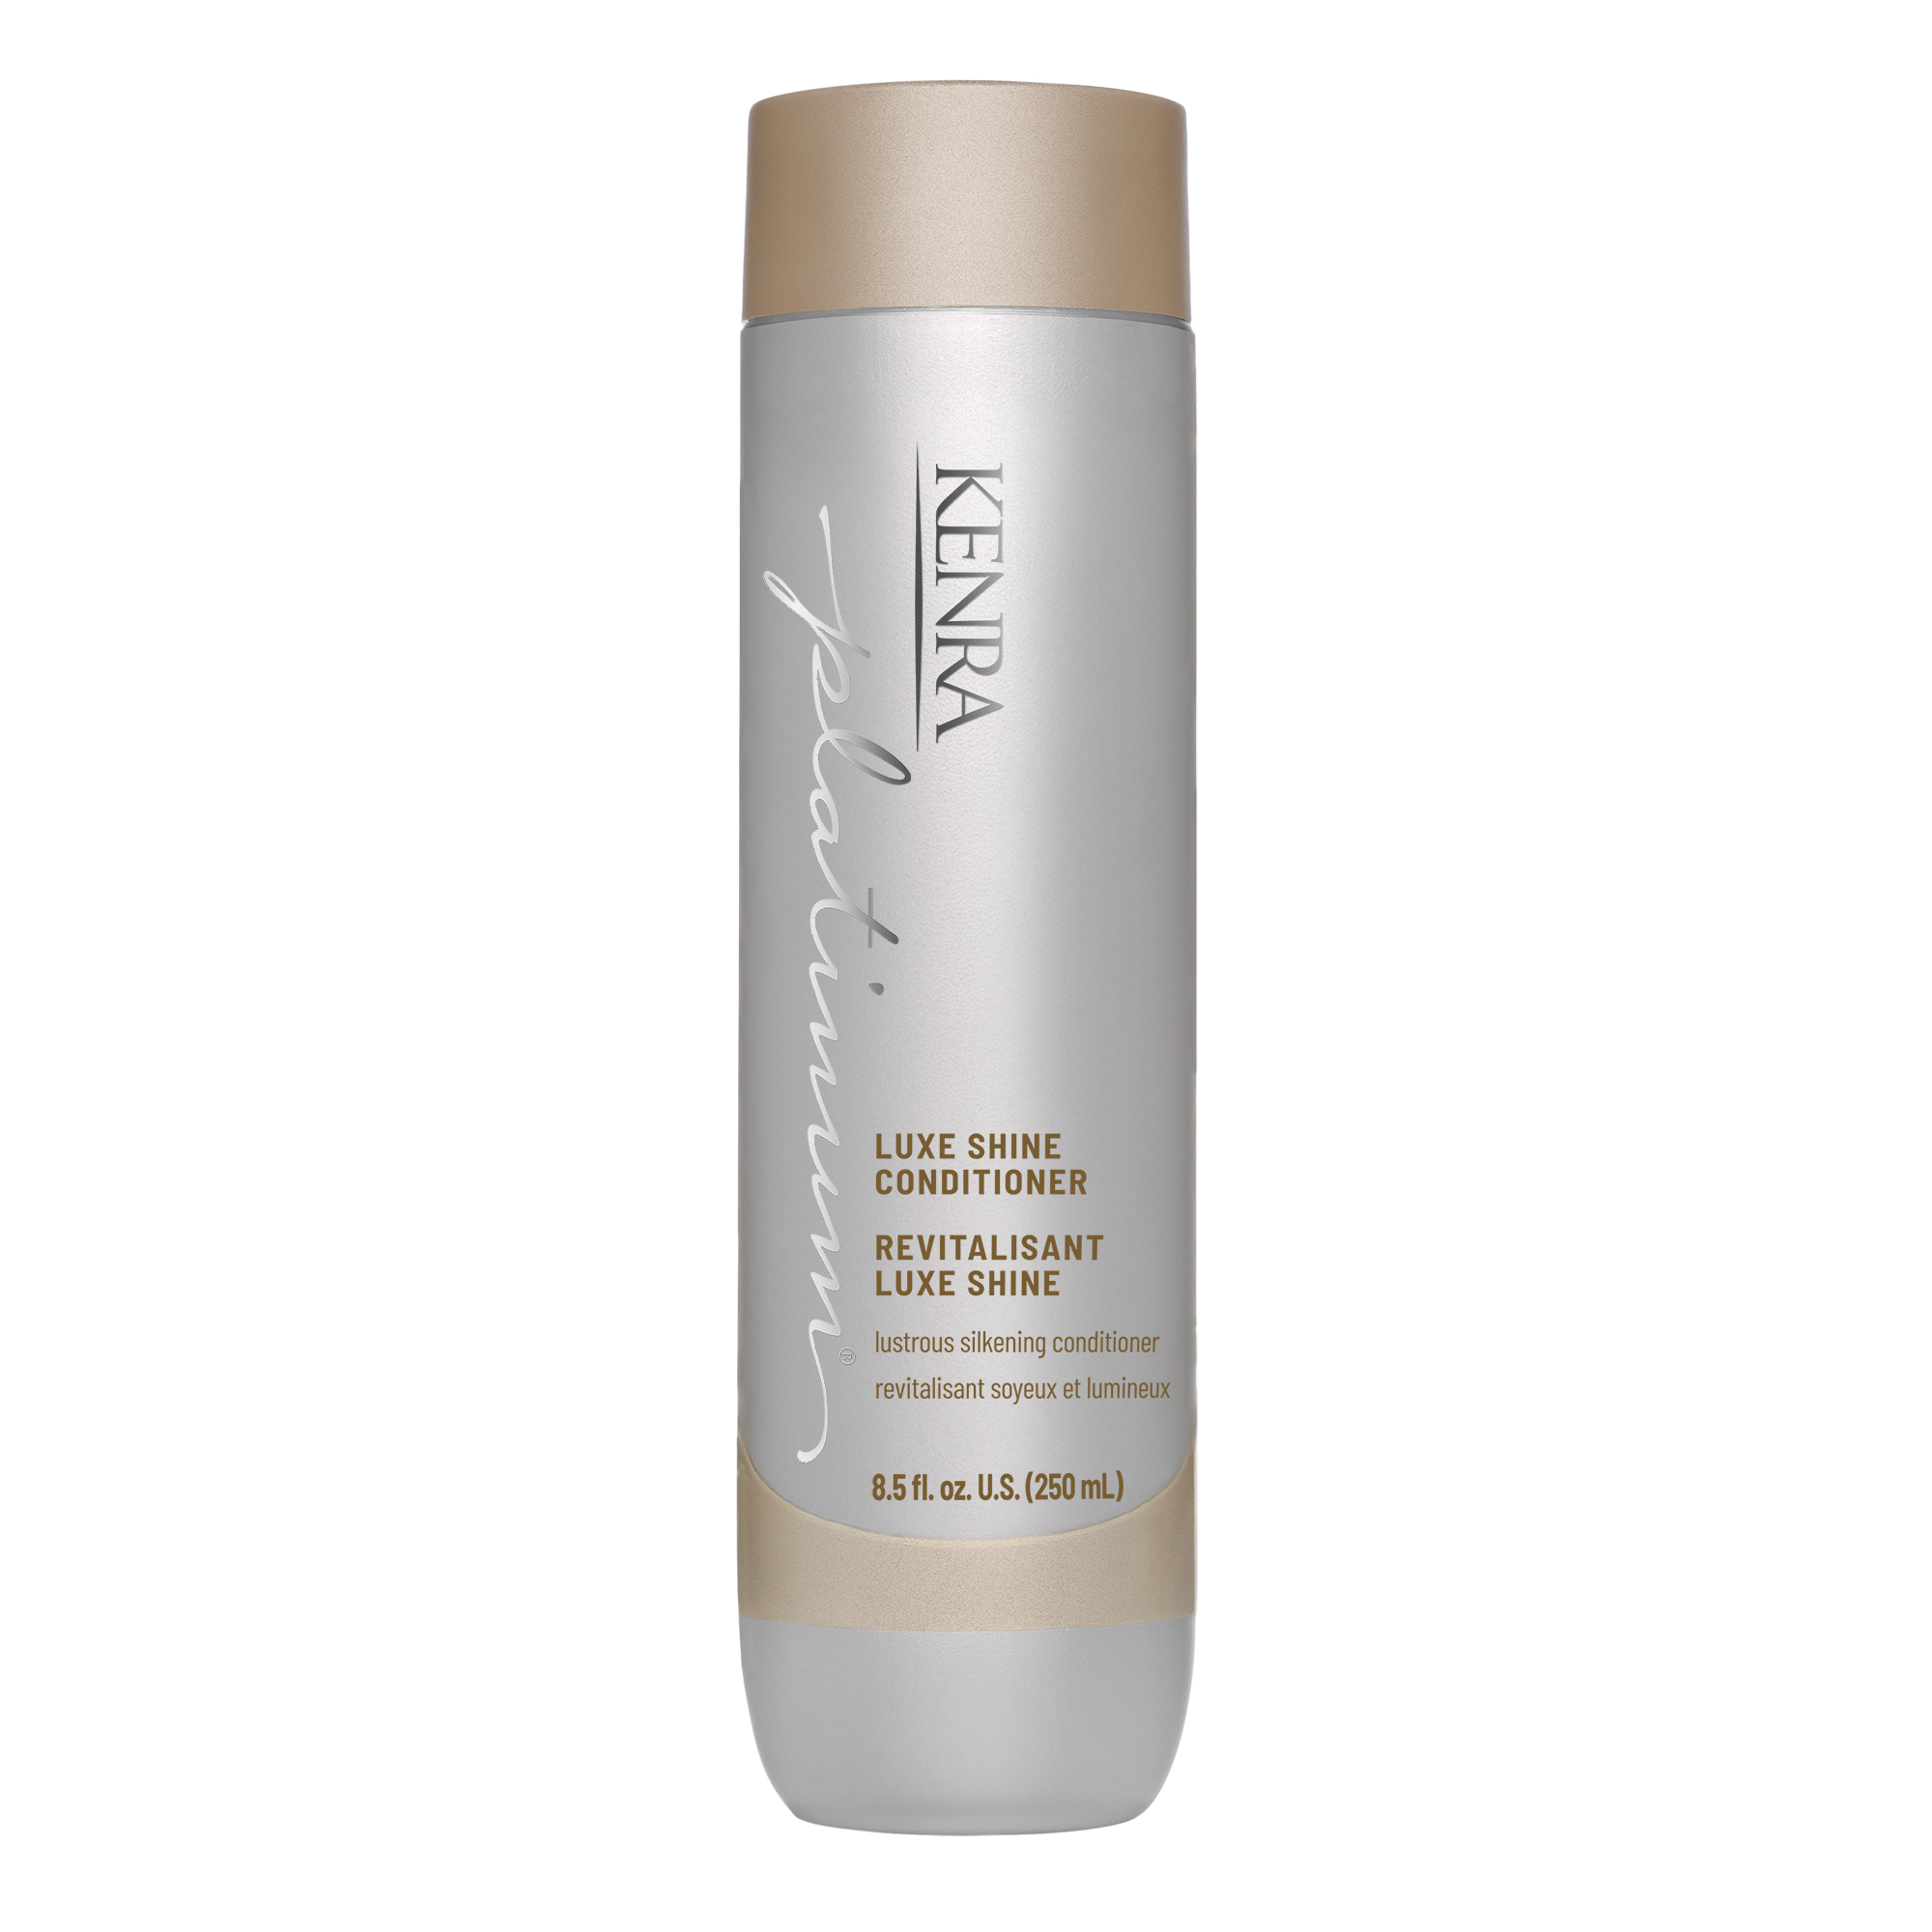
If you want to get salon-quality results, you will need to start your blowout as if you were at the salon—with a luxurious deep clean and condition. The best shampoo and conditioner for you will depend on your hair’s specific needs.
If you have hair that tends to lay flat, then we recommend that you use our Volumizing Shampoo and Conditioner to help lift your hair for full, voluminous results. If your hair already brings the volume, then use our Luxe Shine Shampoo and Conditioner to give your blowout that glossy hair commercial shine.
Prepare Your Hair for the Heat
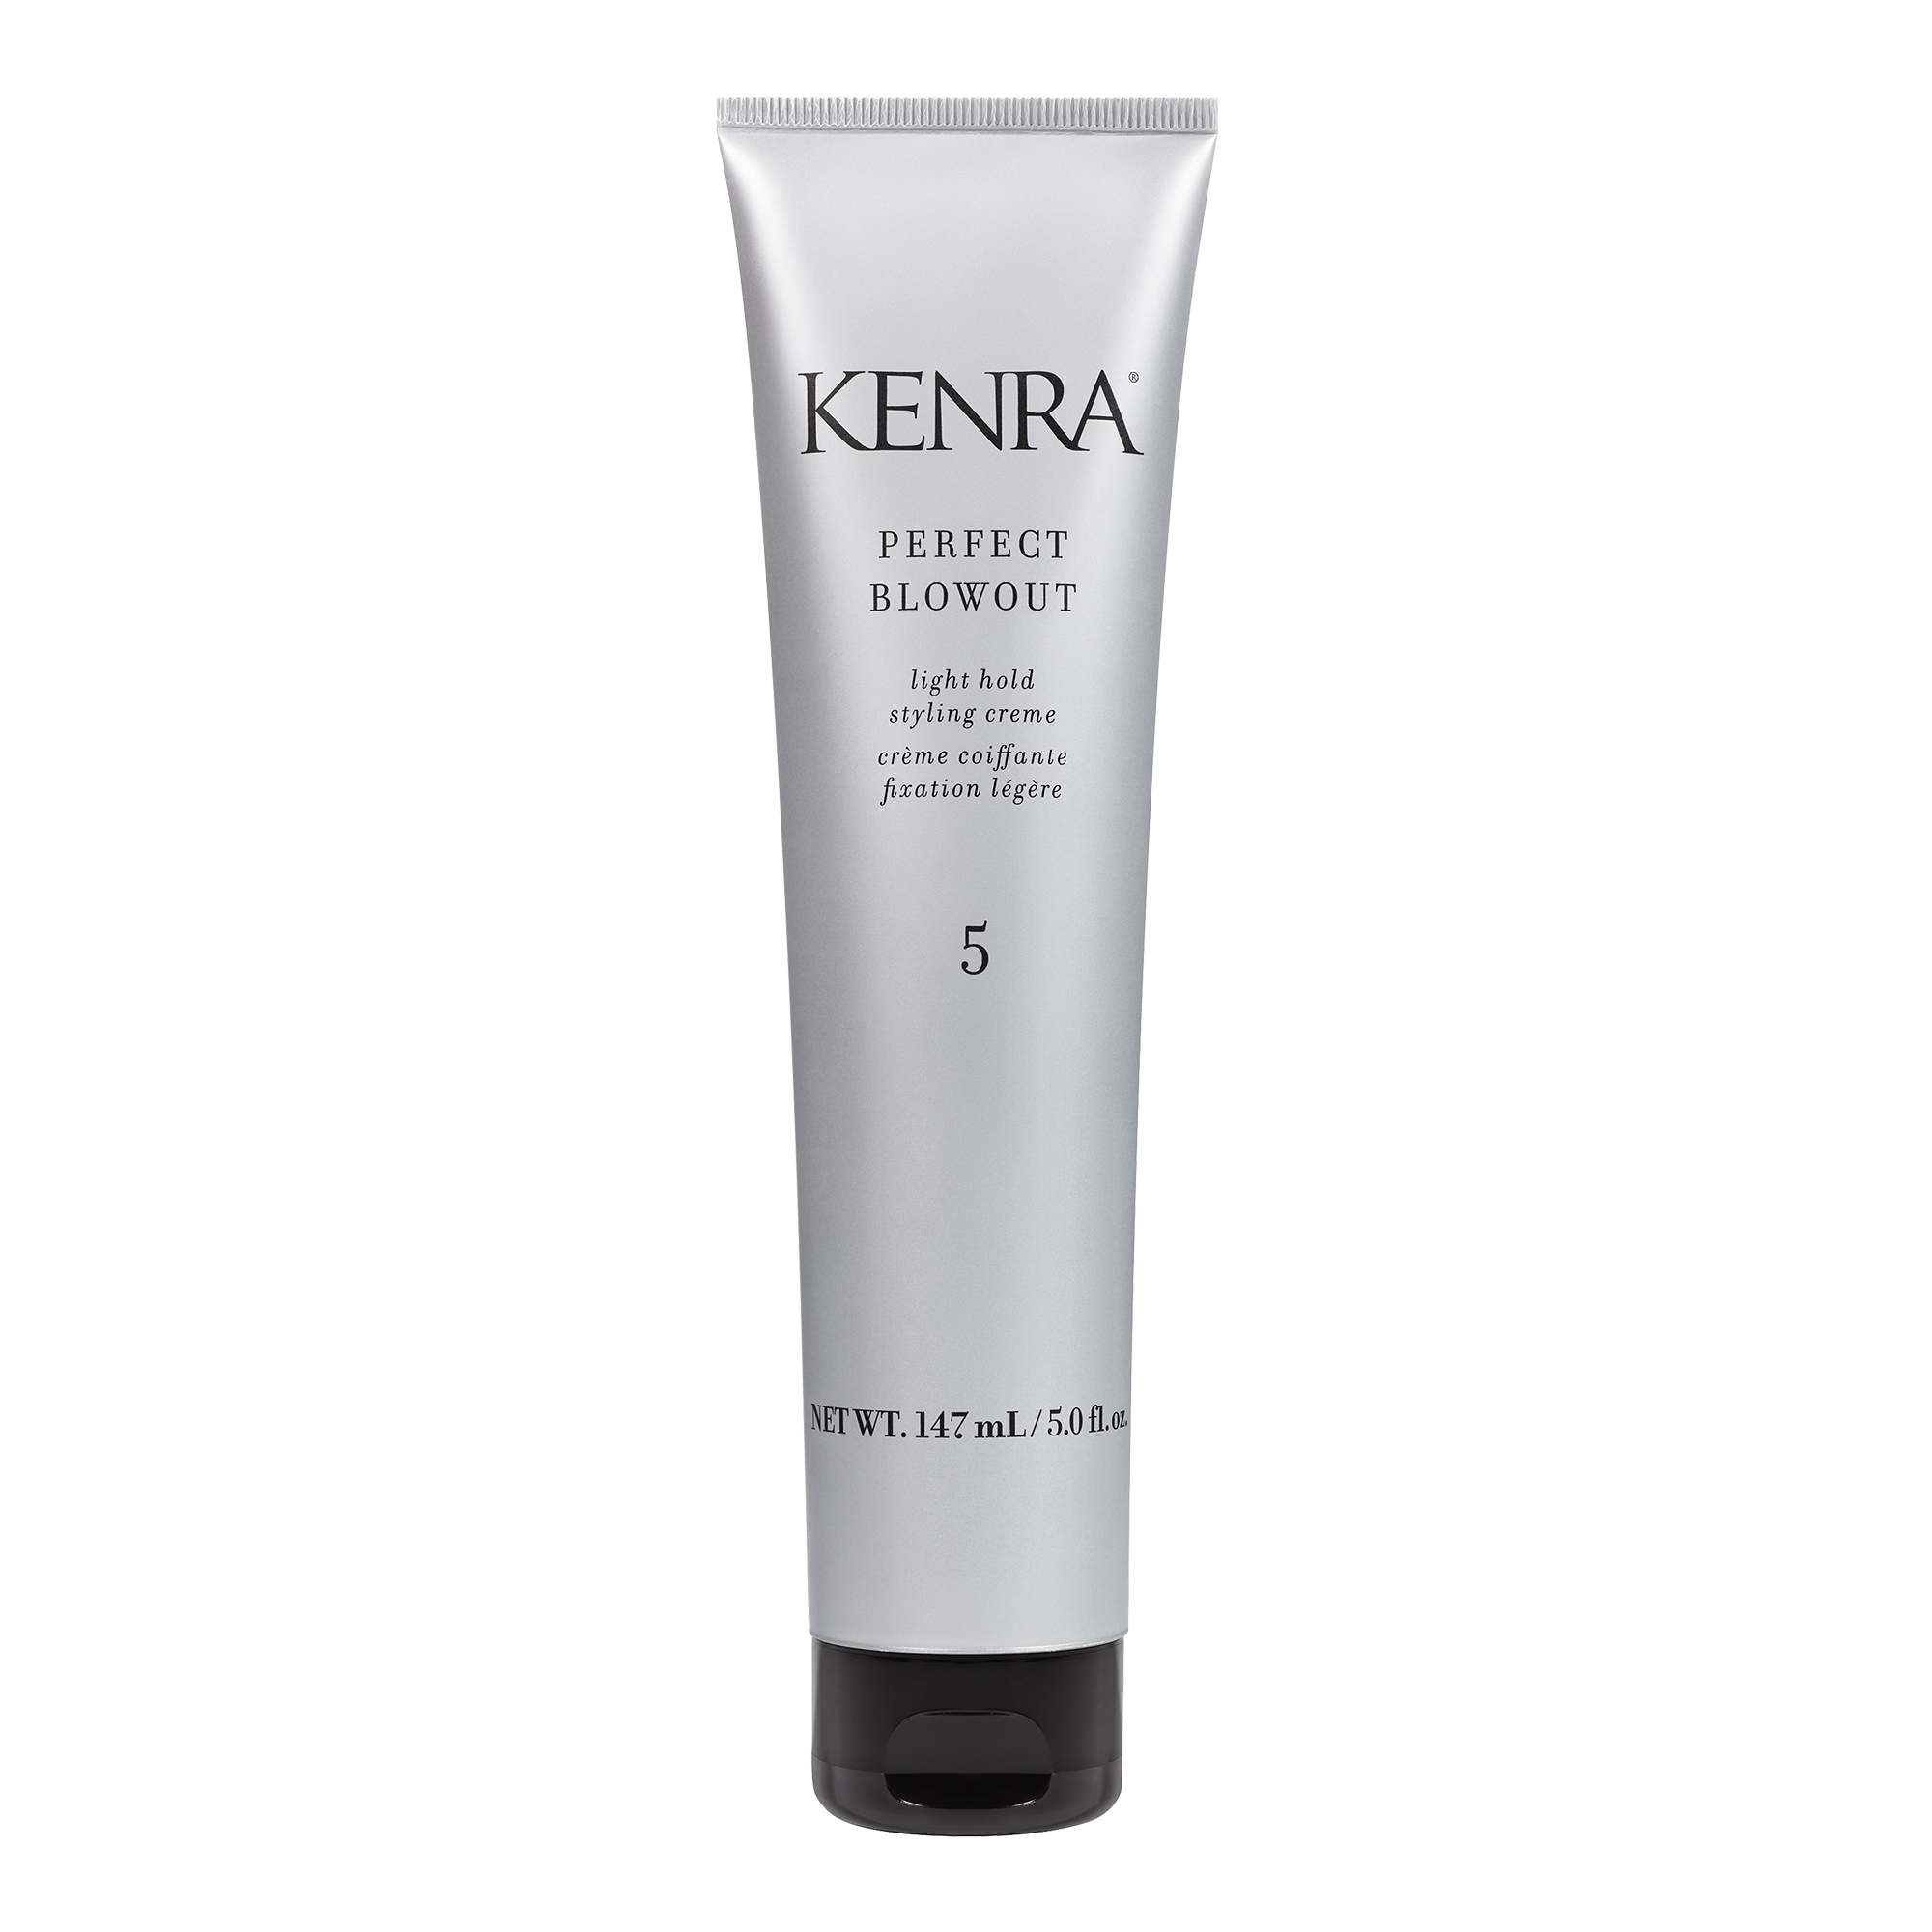
Once you have given your scalp a good massage with your shampoo and a deep moisturization with your conditioner, it is time to prep your hair for the heat. Using a hairdryer is no different from using a curling iron, straightener, or any other heat styling tool. You will need to coat your hair with a generous amount of heat protectant in order to protect it from your hair dryer and prevent hair damage.
For a blowout, we recommend you use Perfect Blowout 5, our light hold styling creme. This lightweight formula was created specifically for blowouts to provide thermal protection up to 450°F, increase all over body and fullness, enhance shine, and tame frizz.
This product is the perfect all-in-one prepping product for any type of hair. Simply rub a small amount between your fingers and then work the lightweight creme through your hair from root to tip.
Detangle
Next, run your brush or comb through your hair to remove any tangles before you begin. This will help make your hair more manageable as you work. Once the hairdryer is on, your hair will likely be shifted around quite a bit, so it is good to detangle now before you start working.
Gather Your Supplies
Now that your hair is clean and heat-prepped, it is time to gather the supplies you will need for your blowout. Set up in front of a mirror, preferably with a good amount of space and an outlet nearby.
Here’s what you will need:
- Hair clips
- Hairdryer with nozzle
- Brush
- Finishing products of your choice
Use Your Nozzle
Remember that nozzle attachment that came with your hairdryer? Time to pull it out from your bathroom cabinet because it is going to be your new best friend. Using your nozzle will make all of the difference for your blowout. It will concentrate the flow of air, preventing flyaways and frizz. It also concentrates heat dispersion to give you that beautiful, sleek, shiny blowout you are trying to achieve.
The Right Brush
To get a high-quality blowout, you will want to use the biggest, widest brush you have. This will help give you a shiny, sleek finish. If you are prone to flyaways, then use a boar or nylon bristle brush to distribute your hair’s natural oils from your scalp down the hair follicles. If your hair is fine and lacking in volume, try using a high-quality round brush to create lift.
It’s Blowout Time
Now, the moment you have been waiting for: time to start your blowout. Trust us, it’s not as hard as it looks. With a little bit of practice, you’ll be a blowout pro in no time!
Section Your Hair
Begin by sectioning your hair so that the top half of your hair is pinned up with a hair clip. You will want to start your blowout at the bottom and then work your way up. This will help keep the hair you are not working on up and out of your way.
After half of your hair is up, split the bottom sections into two parts by placing one half in front of one of your shoulders and the other half in front of the other shoulder.
Blow Dry
Once you’ve sectioned your hair, attach your dryer nozzle and turn your hairdryer onto the lowest heat setting that you can use to dry your hair. If you have super fine hair, you should be able to use a relatively low temperature.
If your hair is a bit thicker, you will likely need to use a higher heat setting to get the job done. The less heat you use, the shinier your hair will be in the end.
Start out by rough drying your hair all over until it is about 80% dry on both sides. Next, use your brush to sandwich one section of hair, pressing your dryer nozzle against your brush.
In a slow and controlled motion, move your dryer and brush down the strand of hair until you reach the bottom. Repeat this until the entire bottom section of hair is dry, then remove your hair from the upper section bit by bit, drying as you go until your entire head of hair is dried to smooth blowout perfection.
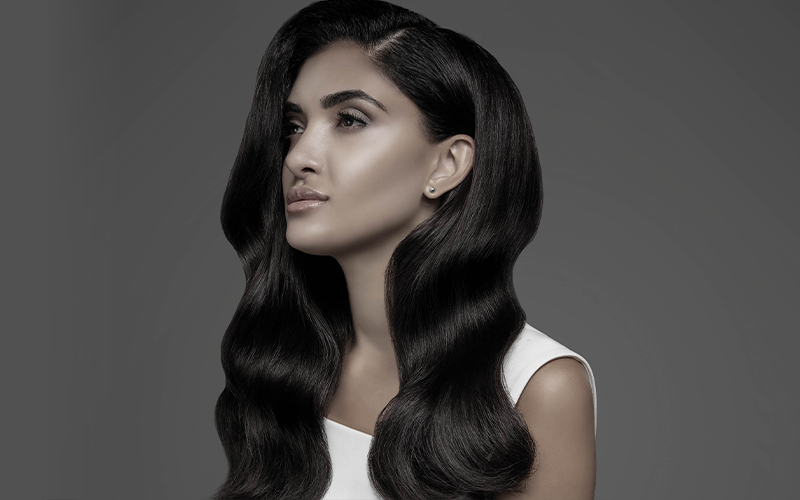
Super Straight Vs. Soft Curl on the Ends
While you are blow-drying, you have two options for how you want to finish off each strand. If you are going for a super sleek, completely straight blowout, then brush your hair forward while drying for the first few passes, then brush the hair back away from the face for the last couple of passes. Then on your final pass, brush the hair with the dryer straight down. This should help to coax your hair into a super straight finish.
If you want a more voluminous blowout with slightly curled ends, brush your hair forward, following the brush and dryer for the first couple of passes. On the last couple of passes, pull the brush and dryer straight down and then rotate your brush at the ends to create a
subtle curled end.
Finishing Touches
Once you have given your hair the full blowout treatment, it is time to lock in all of your hard work with hairspray to keep your blowout rockin’ all day long.
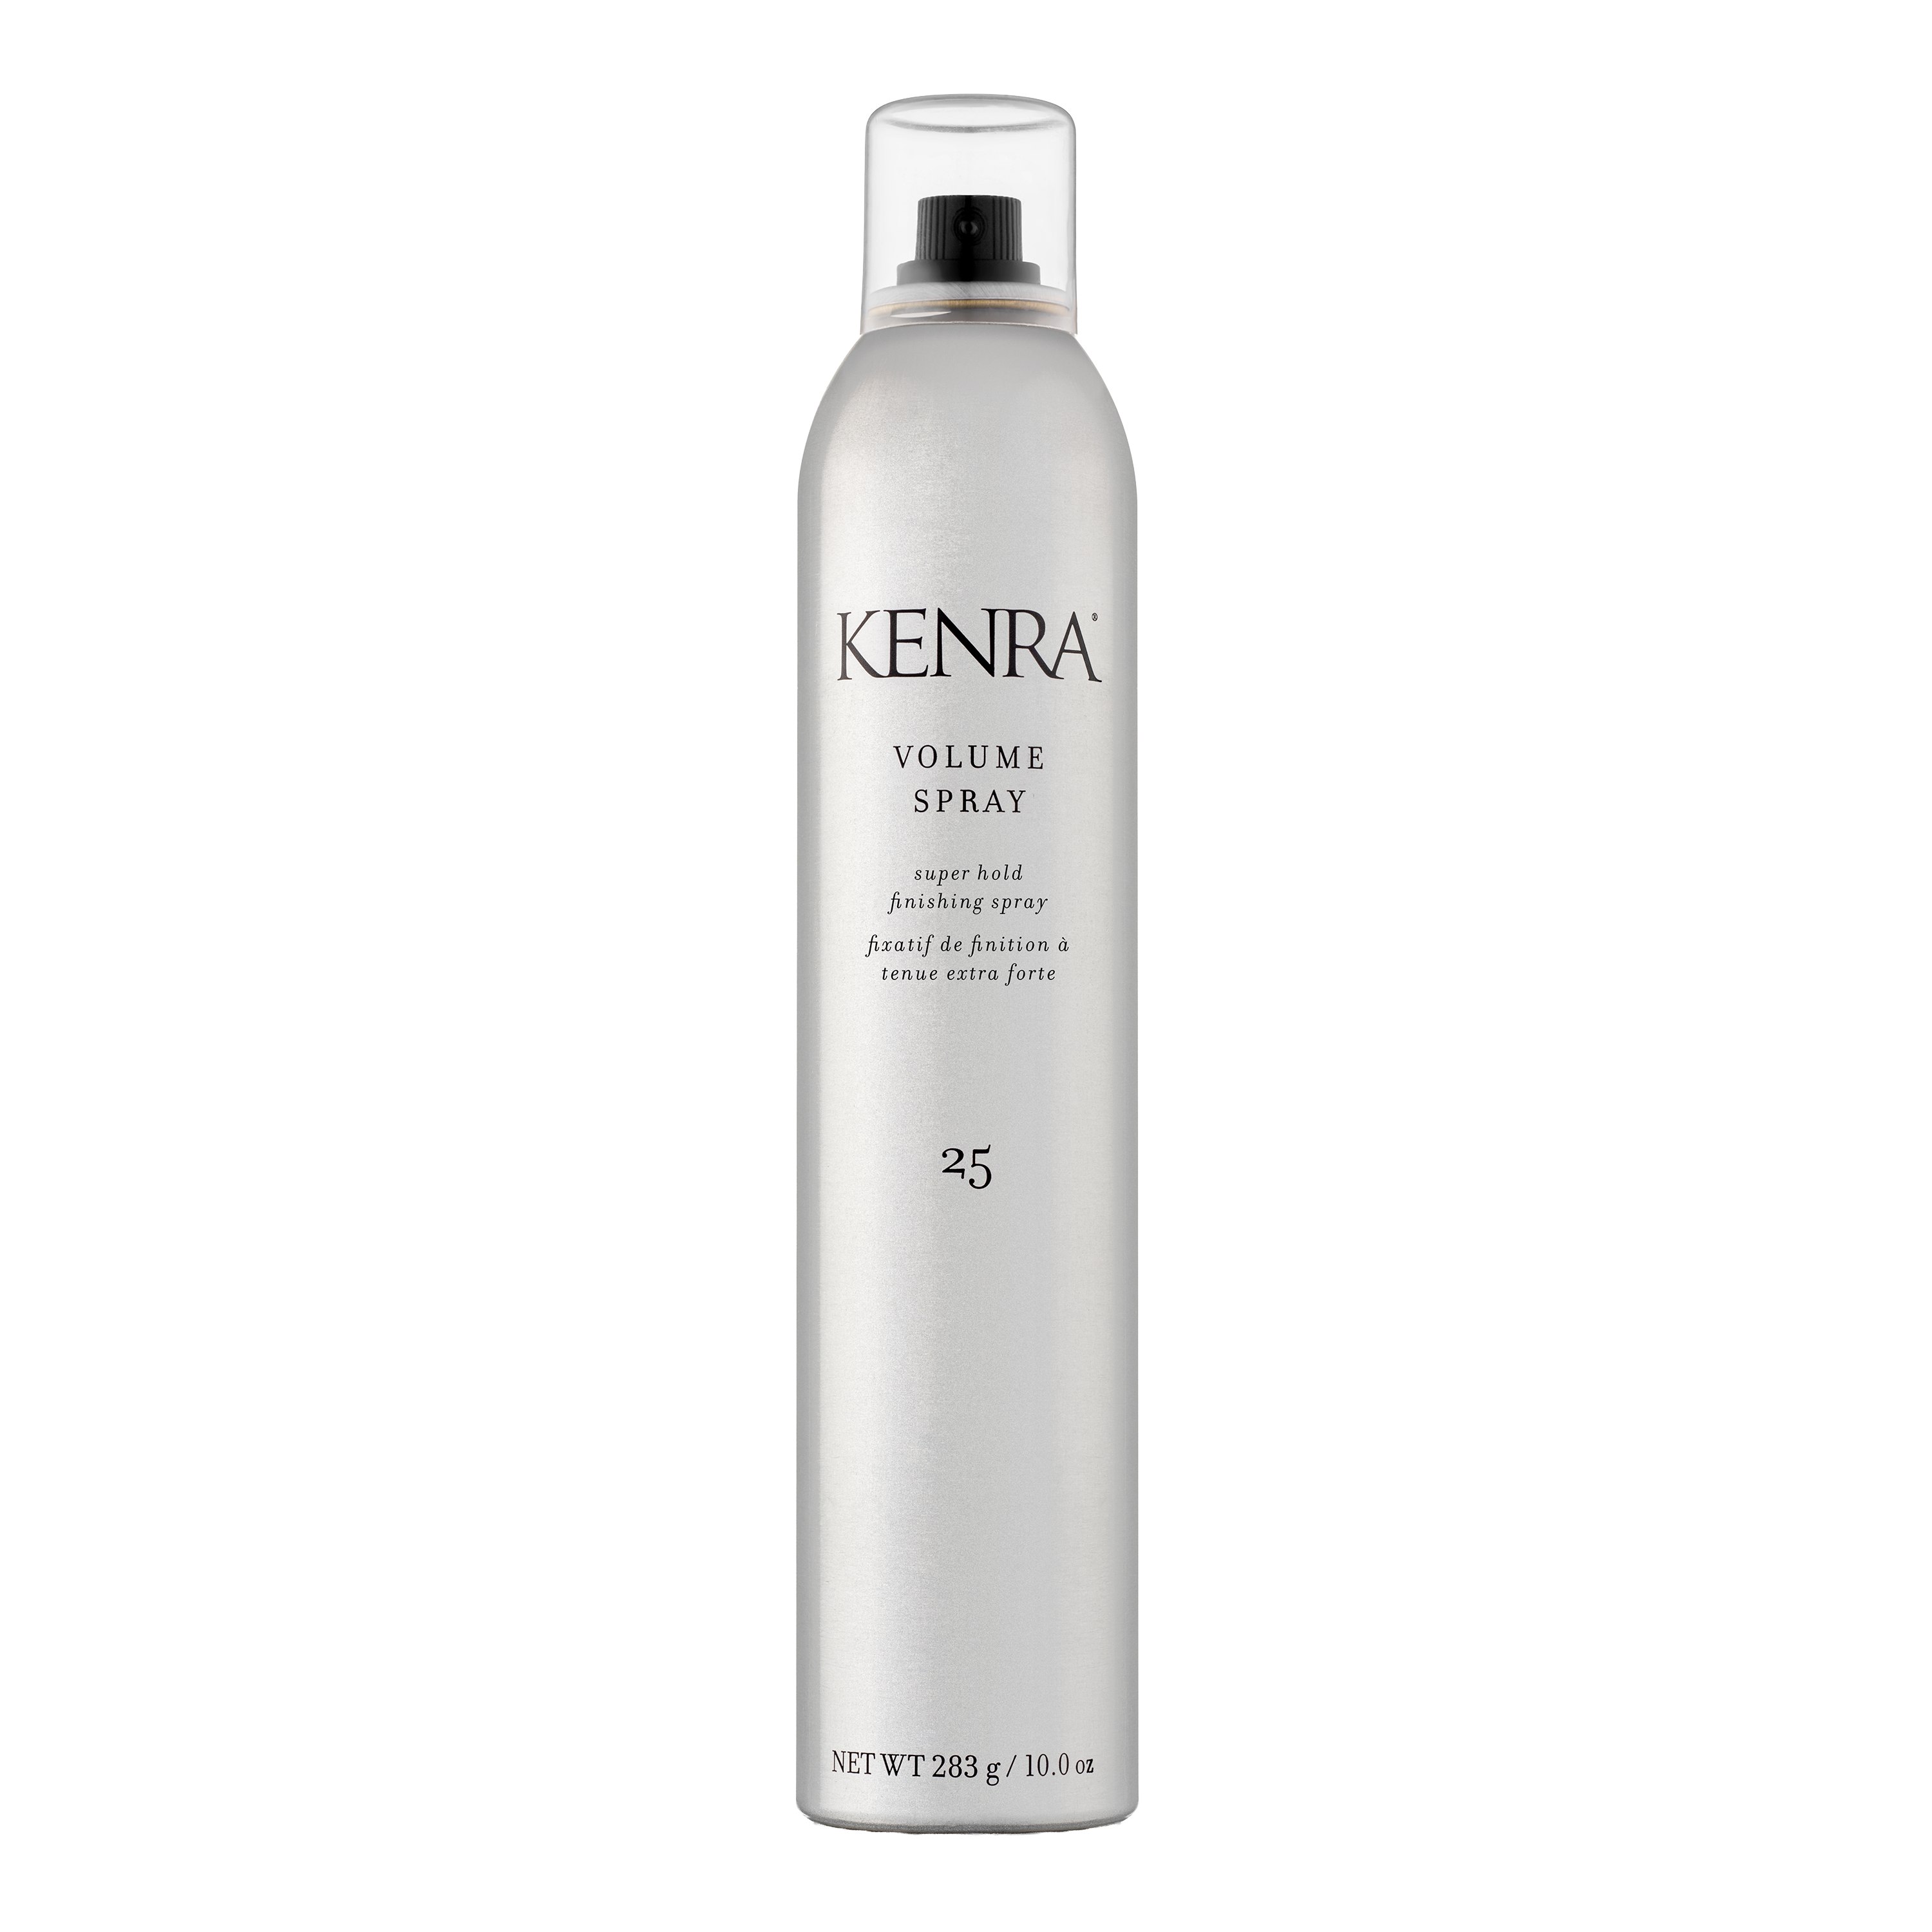
Volume Spray 25
One of the best ways to preserve your blowout is by sealing it in with a premium hairspray. Our Volume Spray 25 has been a favorite of salon professionals for over 30 years.
This hairspray will give you a super soft, lightweight hold for up to 120 hours. It is also humidity resistant, so if you are prone to fluffy hair in high humidity environments, then definitely don’t skip this step.
Blowout Maintenance
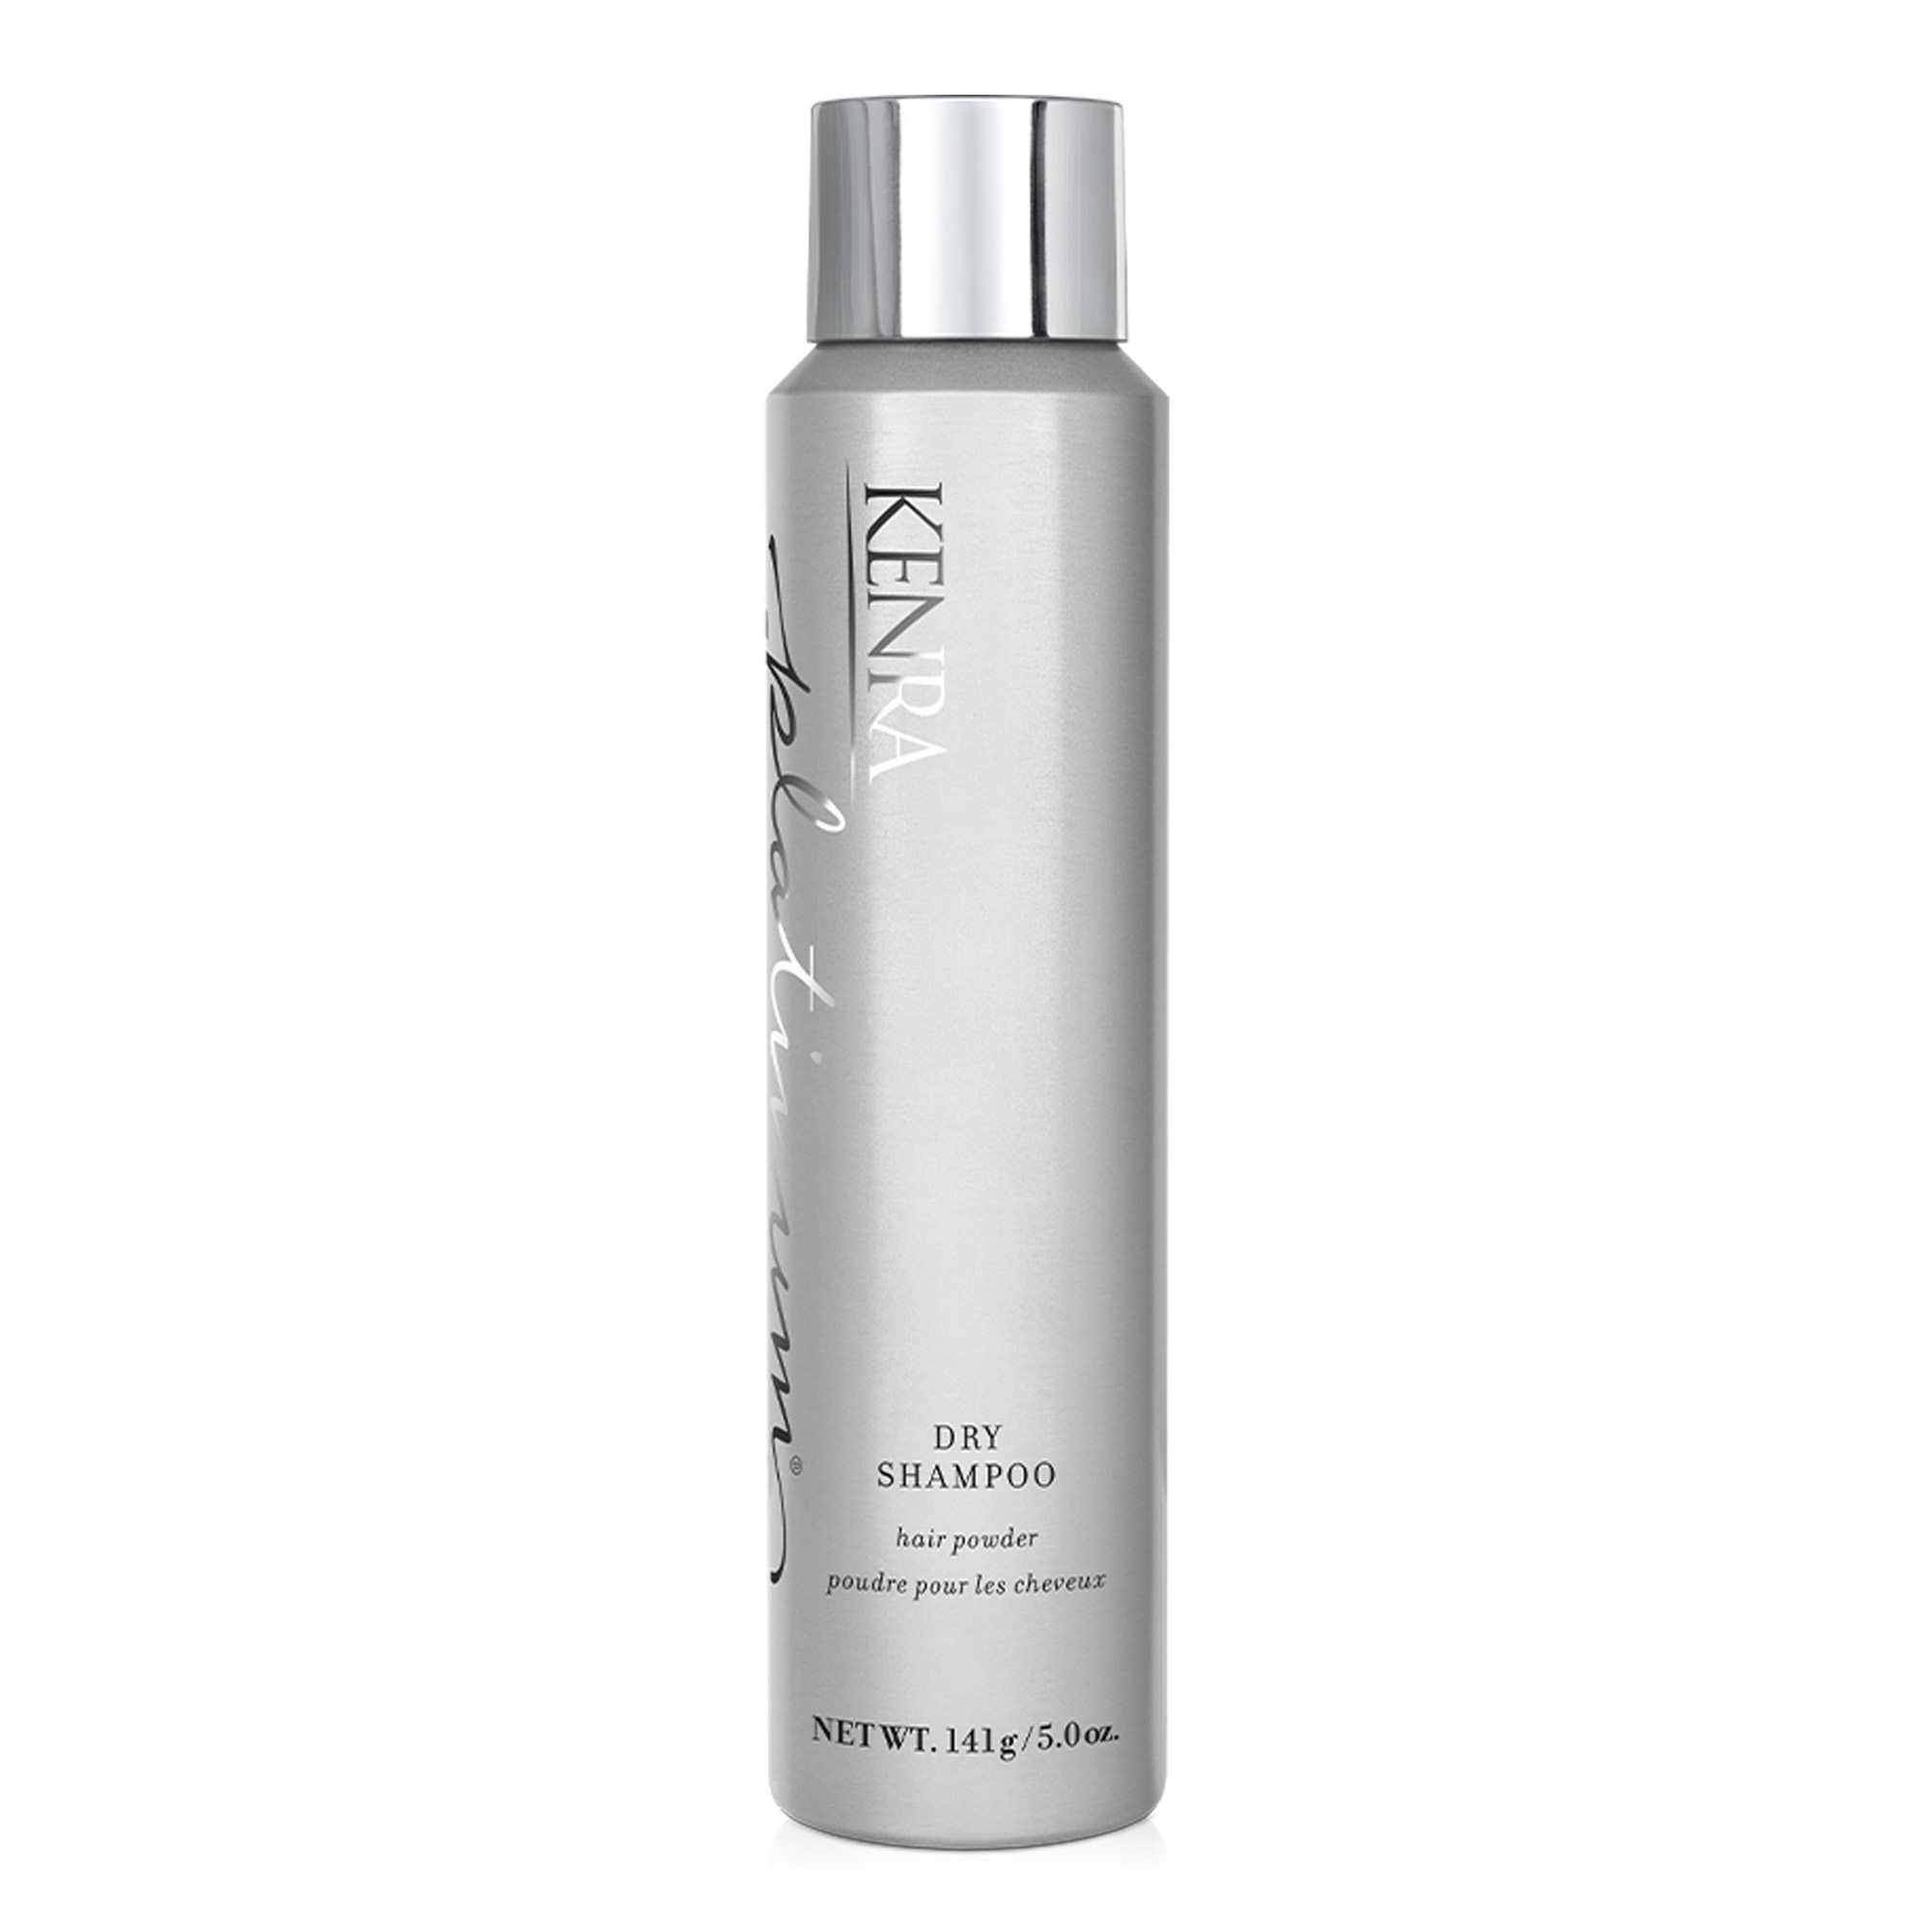
Now you are all done! With proper maintenance, your blowout can last for anywhere from three to five days. All you need to do to keep it fresh is apply some Dry Shampoo to the roots as oil begins to build up. Dry shampoo works to keep your hair from looking greasy and adds texture, so your hair never becomes weighed down.
Recap
It can be a little intimidating to give yourself a blowout at home, but with a little bit of practice, you will be able to accomplish this easy, stunning hairstyle in no time. Just remember that practice makes perfect.
For more helpful hair tips and tutorials, check out the Kenra Professional blog. We cover all types of useful tutorials for salon professionals and haircare beginners. When it comes to salon-quality hair, we’ve got your back, whether you’re in a salon or getting your glam on in your bathroom at home.